At Total Home Windows & Doors, we’ve been making windows and doors in the Greater Toronto Area for 15 years. We know how key natural light and welcoming spaces are in your home.
Building a bay window seat is a smart move. It adds comfy seating and boosts your room’s look.
Our team got ideas from many DIY projects. One story about making a bay window seat showed the value of picking the right stuff and design.
This way, you can make a snug spot for chilling and taking in the view.
Key Takeaways
- Enhance your home’s natural light with a bay window seat
- Choose the right materials and design for your project
- Create a cozy nook that adds to your home’s aesthetic appeal
- Consider DIY projects for inspiration and guidance
- Maximize your room’s with a well-designed bay window seat
Window and Doors Replacement Near Me
Understanding the Benefits of a Bay Window Seat
A bay window seat adds comfort and style to any home. It makes a room look better and offers a cozy spot for relaxing or reading.
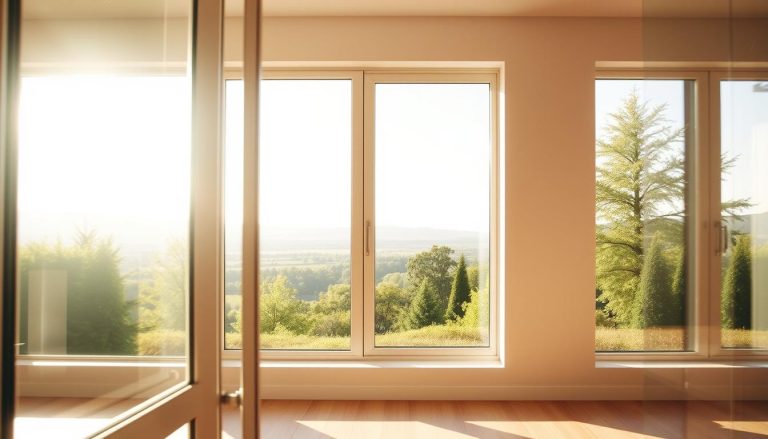
Bay window seats let in more natural light and views. They turn a bay window into a snug spot to enjoy the outdoors. This is great for rooms that get lots of sunlight.
Adding a bay window seat makes your home more livable. It can become a room’s centerpiece, adding charm. You can find many design ideas to make your space unique and welcoming.
Following a bay window bench tutorial helps you make a seat that suits your taste. You can pick materials and designs that match your home’s look. This way, your bay window seat will enhance your home’s beauty.
Find related services
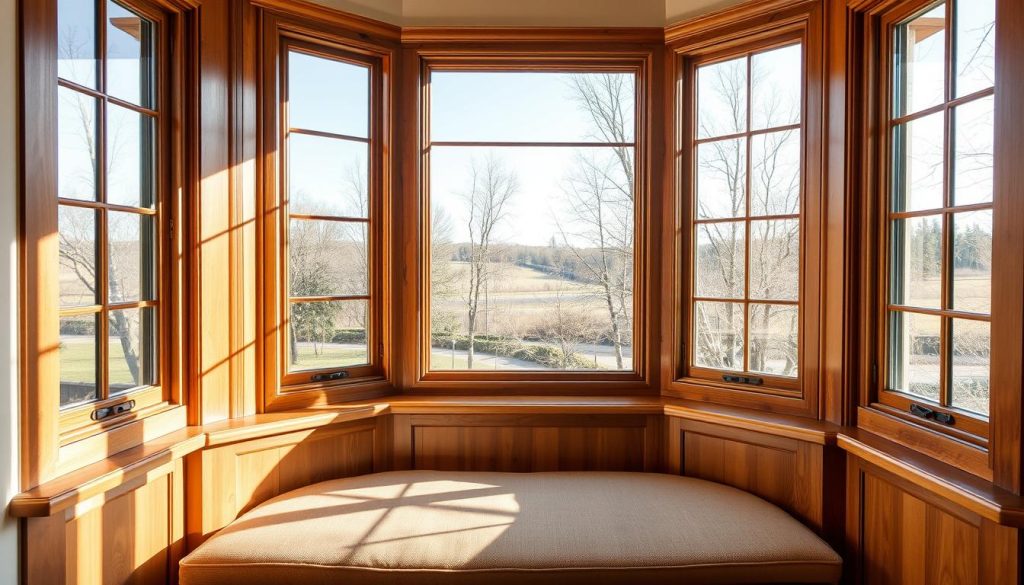
Choosing the Right Location for Your Bay Window Seat
Choosing the right spot for your bay window seat is key. It boosts both looks and use. Think about the bay window’s size and the room’s layout.
Before you start, measure the bay window area. Don’t forget about any blocks, like heating vents or outlets.
- The direction the window faces, which affects the amount of sunlight the seat will receive.
- The room’s layout and how the bay window seat will integrate with existing furniture.
- The window’s design, including its size and style, to ensure the seat complements it.
- Any specific needs, such as storage under the seat or a particular type of cushioning.
For a smooth fit, match your seat’s style and material. For example, Total Home Windows & Doors offers UltraSlim Series windows. This can guide your seat’s design.
With the right planning, your bay window seat can become a cozy spot. It will also make your bay window look better.
Explore energy-efficient options
Selecting Quality Windows for Your Bay Window Seat
To make your bay window seat look good and work well, you need the right windows. Our company, in the Greater Toronto Area, has been helping with this for over 15 years. We know how important it is to pick the best windows.
Choosing the right windows is key for a great bay window seat. Total Home Windows & Doors offers top-notch options like Total Seal and UltraSlim Series. These help your windows last longer and save energy.
Total Seal keeps air in and cold air out, saving you money. UltraSlim Series makes your windows look slim and modern. They let in lots of natural light without taking up too much space.
Choosing from Total Home Windows & Doors means your bay window seat will last. Their showrooms in the Greater Toronto Area have many options. You can find the perfect windows for your project.
“Investing in quality windows is a key step for a window seat. It’s not just about looks; it’s about making a useful space that adds value to your home.” – Eugene Siukayev, Project Manager
- Energy efficiency through advanced sealing technologies
- Enhanced durability and longevity
- Aesthetic appeal with slim, modern designs
In conclusion, picking quality windows is vital for a custom bay window seat. With technologies like Total Seal and UltraSlim Series, you get a seat that looks great and works well.
Find the Best Window Styles for your Home
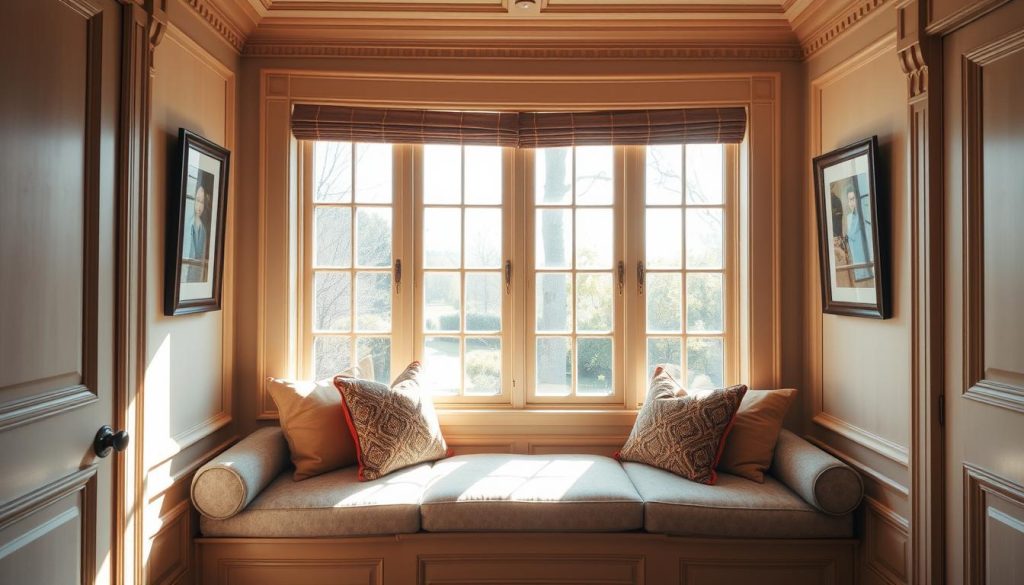
Designing Your Bay Window Seat Layout
A well-designed bay window seat can change a room. It adds seating and storage. When we build one from scratch, design is key for a good look and function.
First, we must measure the bay window area. Take note of its size and any blocks, like heating vents or outlets. This helps us plan the best seat layout.
Storage is a big part of window seat design. We can add cabinets or drawers under the seat. This keeps things tidy and gives a place for items like linens or books.
Innovative Design Ideas
New window tech can make our bay window seat better. For example, low-E windows save energy and make the room more comfortable. Smart glass adds UV protection and lets us control the temperature.
- Adding cushions and pillows makes it comfy and stylish.
- Choose materials that are tough and easy to clean for the seat and storage.
- Lighting, like LED strips, can make the space warm and welcoming.
Building a window seat from scratch lets us pick materials and designs we like. By focusing on both looks and use, we make a space that’s both beautiful and useful.
A good bay window seat is more than furniture. It’s a key part of the room’s look and use. With smart design and tech, we can make a space that’s truly special and inviting.
Preparing Your Space for Installation
To make your DIY Bay Window Seat installation go smoothly, preparation is key. Before you start, clear the area around the bay window. Remove any furniture, curtains, or other things that might get in the way.
Next, cover the floor and any furniture left with protective sheets or plastic. This helps keep your work area clean and safe from dust and debris.
Then, get all the tools and materials you need. This includes a tape measure, level, drill, and the parts for your bay window seat. Having everything ready will make the process faster and avoid delays.
Here’s a list of the tools and materials you’ll need:
- Tape measure
- Level
- Drill
- Bay window seat components (seat, supports, etc.)
- Safety glasses
- Work gloves
It’s also wise to check the manufacturer’s instructions for specific needs. A well-known carpentry expert says, “Preparation is the key to a successful installation. Having the right tools and a clear workspace is very important.”
“Measure twice, cut once.” – Unknown
Now, let’s look at common mistakes during preparation and how they can affect your installation:
| Mistake | Impact |
|---|---|
| Insufficient clearance | Difficulty in maneuvering tools and components |
| Lack of necessary tools | Delays and possible damage to components |
| Inadequate protection of surrounding areas | Damage to floors and furniture |
By following these steps and avoiding common mistakes, you can have a successful DIY Bay Window Seat installation. Good preparation leads to a smooth and efficient installation process.
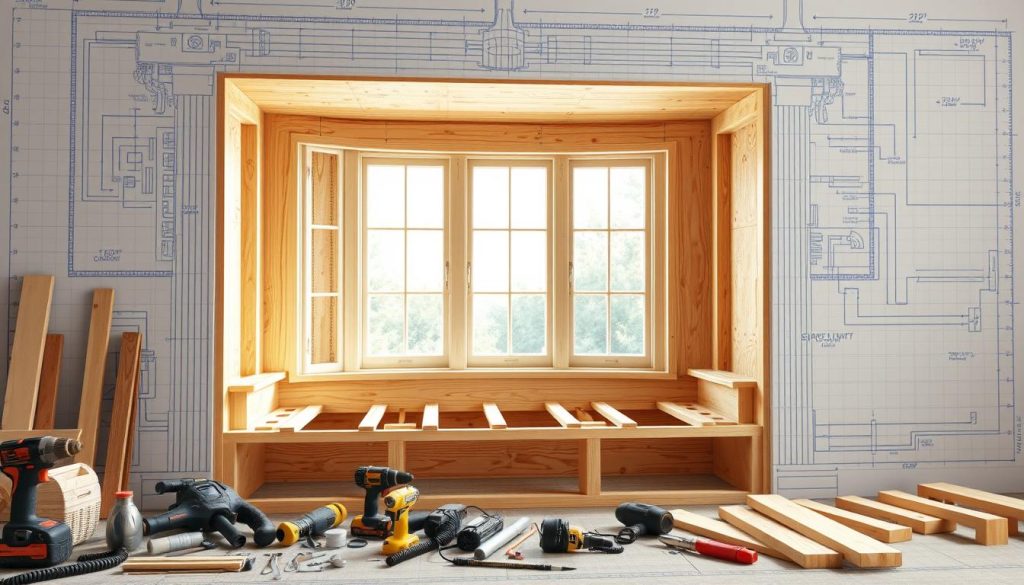
Installing the Bay Window Frame
Our custom window seat construction starts with installing the bay window frame. This is a key step for a strong base. A well-set frame makes the whole thing stable and comfy.
We use top-notch materials and precise methods for a pro finish. Installing the frame needs careful attention and the right tools. Our team in the Greater Toronto Area is skilled at this.
Installing the bay window frame involves a few important steps. First, we measure the area to fit perfectly. Then, we put the frame together and check for any issues.
- Measure the bay window area to determine the frame size.
- Assemble the frame components, ensuring a snug fit.
- Check the frame for any defects or damage.
- Install the frame, ensuring it is level and secure.
By following these steps and using the right materials, we ensure a great bay window bench. The result is a beautiful bay window seat that makes your home look and feel better.
For a custom window seat that fits your needs, working with experts is key. Our team aims to give you top-quality results that go beyond your expectations.
Constructing the Seat and Support Structure
Building a sturdy and comfy bay window seat is key. We focus on making a strong support system. This system must hold the seat and anyone sitting on it.
First, we pick the right materials. Wooden boards and strong brackets are good choices. The wood and bracket design depend on looks and weight needs.
Here are the main things to think about when picking materials:
- Durability: The materials should last through regular use.
- Aesthetics: They should match the bay window’s design.
- Weight Capacity: Make sure they can handle the expected weight.
After picking materials, we build the support structure. We measure and cut the wood, build the frame, and attach it to the bay window.
The seat should be comfy and useful. Think about its height, depth, and cushioning. Adding storage under the seat makes it more useful.
Key Steps in Constructing the Seat
- Measure and cut the seat boards to the right size.
- Build the seat frame and attach it to the support structure.
- Add cushioning and finishing touches, like trim or paint.
By following these steps and using quality materials, we make a beautiful and useful bay window seat. This boosts our DIY Bay Window Seat project.
Building a Window Seat from Scratch lets us customize everything. We choose the materials and decorative touches ourselves.
Final Touches and Style Enhancements
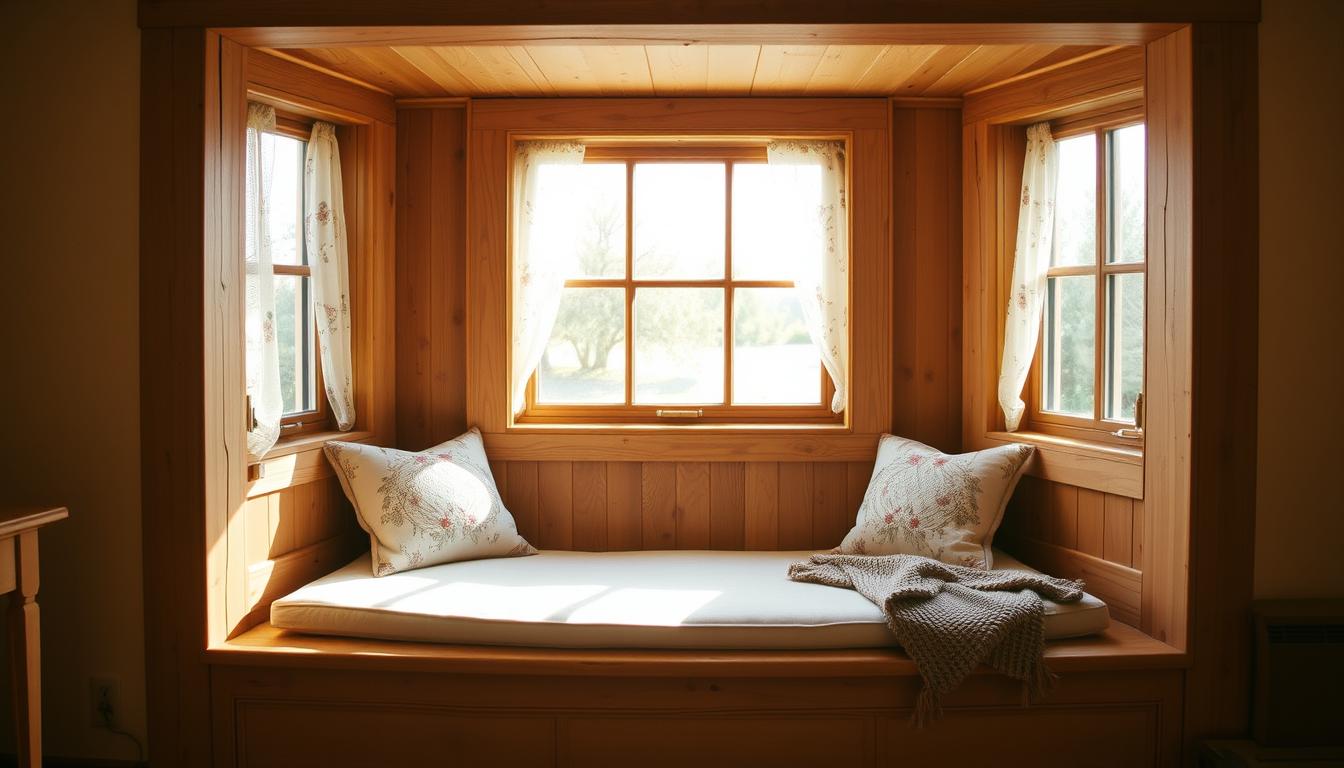
Now, we’re finishing our bay window seat project. We’ll add the final touches to make it both functional and stylish. We can use Window Seat Design Ideas to make it cozy and welcoming.
Decorative items like cushions, pillows, and throws can make our bay window seat look great. We can pick materials and patterns that match our room’s decor. This creates a peaceful and harmonious space.
When planning our Bay Window Seating Plans, think about your room’s style. For example, a traditional room might have fancy woodwork and soft cushions. A modern room could have simple designs and light fabrics.
With these final touches, our bay window seat will be a beautiful part of our home. A bit of creativity and focus on details will make it a standout feature in our living area.