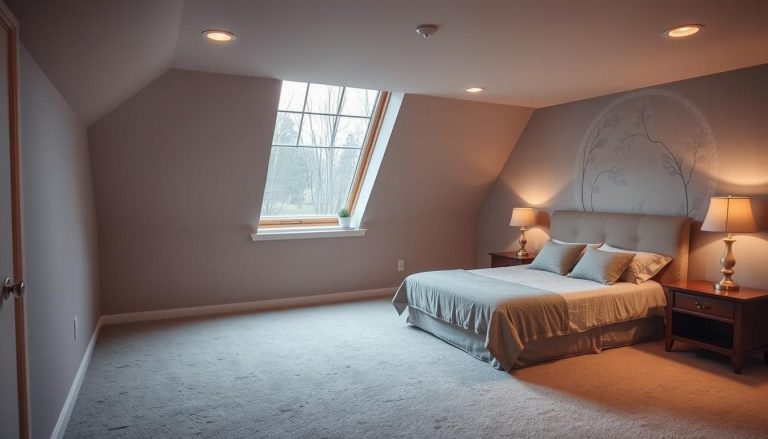
Installing windows correctly is crucial for energy efficiency, comfort, and home value. This comprehensive guide walks you through every step—from measuring and selecting the right windows to proper installation techniques and finishing details—ensuring professional results whether you’re replacing old windows or installing new ones in your Canadian home.
Window Replacement Near Me
Part 1: Preparation and Planning
Proper assessment of your existing windows is crucial before you begin any window installation project. When evaluating your current windows, check if the existing frame is in good condition. A full-frame replacement is necessary if frames show rot, warping, or structural damage. However, if they’re structurally sound, you might opt for insert replacement windows that fit within the existing frame, saving time and money.
Consider your window type carefully. Different styles serve different purposes:
- Casement windows offer excellent ventilation and security
- Double-hung windows allow for versatile airflow
- Slider windows work well in spaces with horizontal limitations
- Picture windows maximize views and natural light
- Bay windows or bow windows create architectural interest
Tools and Materials Needed
Key Frame Components:
- Frame: The complete outer structure that surrounds the entire window
- Head: The horizontal part at the top of the frame
- Jamb: The vertical sides of the frame
- Sill: The horizontal bottom piece of the frame (also called the window sill)
For a successful window installation, you’ll need the following tools:
- Tape measure and level
- Pry bar and hammer
- Utility knife and putty knife
- Caulking gun and silicone caulk
- Drill/driver with bits
- Insulation (spray foam or fibreglass)
- Shims (cedar or composite)
- Screws appropriate for your window type
- Safety equipment (gloves, safety glasses, dust mask)
For materials, consider the window frame material carefully. At Total Home Windows and Doors, we offer various options:
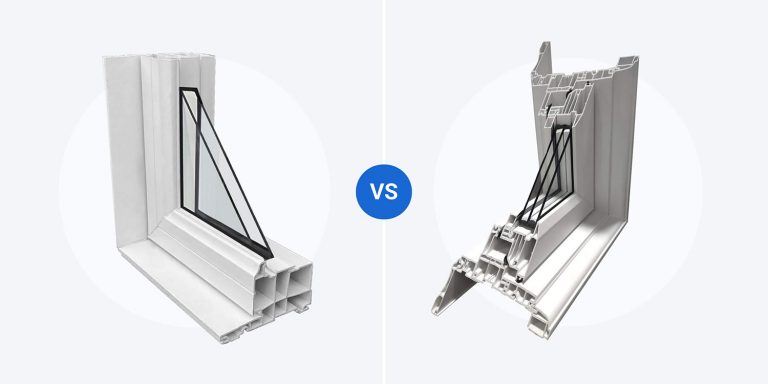
- Vinyl windows: Low-maintenance, energy-efficient, and cost-effective
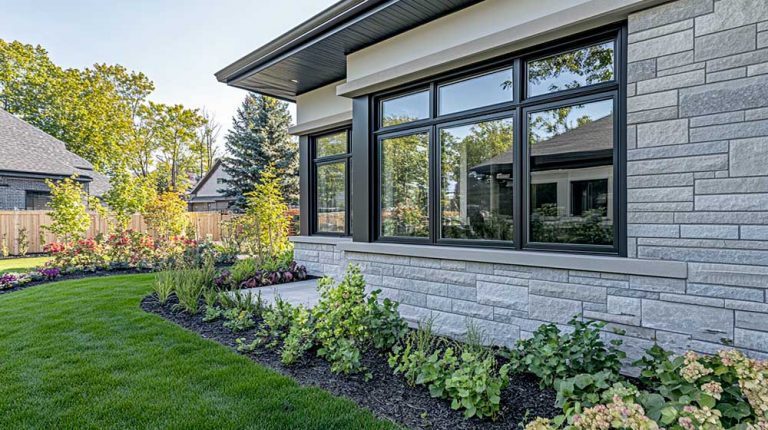
- Aluminum windows: Slim profiles, durability, and modern aesthetics
Visit our showroom to see these options and determine which best suits your home’s style and climate requirements.
Find related services
Part 2: Removing Old Windows
Before installing new windows, you’ll need to remove the existing ones carefully:
- Remove interior trim and stops, working carefully to avoid damage if you plan to reuse them.
- Cut through paint or caulk, sealing the window frame to the wall.
- Remove any screws securing the window frame.
- For double-hung windows, remove the sash weights or springs.
- Carefully pry the window frame away from the opening, starting at the corners.
"When removing old windows, patience is key," advises Vitaly Shapiro. "Rushing this step often results in damaged wall surfaces that require additional repairs before new windows can be installed."
If your existing frame is in good condition and you’re using insert replacement windows, clean the frame thoroughly and repair any minor damage before proceeding.
Check with your local waste management authority about disposing of old windows. Many municipalities have specific windows disposing guidelines, and some materials may be recyclable.
Find related products
Part 3: Installation Process
Here’s a step-by-step guide on how to install a window:
1. Prepare the opening: Clean the rough opening thoroughly and check for level, plumb, and square. Address any issues with the framing.
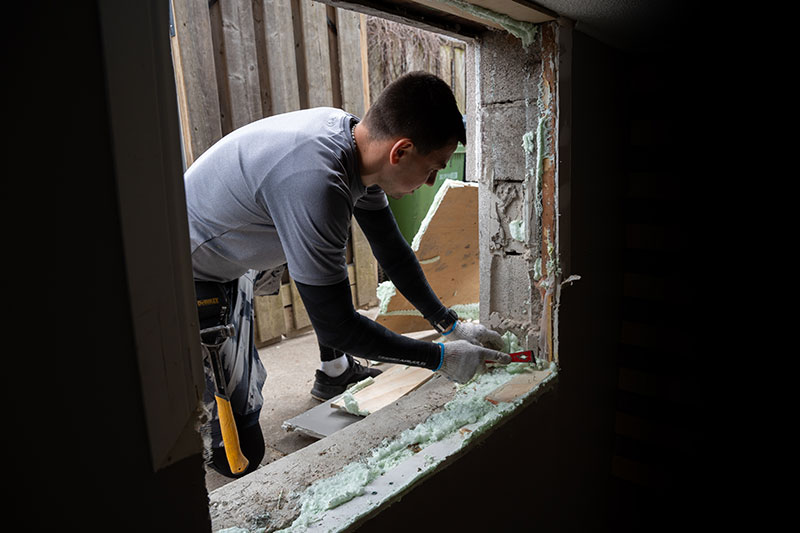
2. Apply flashing (optional): Install sill flashing to prevent water infiltration.
3. Dry fit: Test the window in the opening before applying any sealants to ensure proper fit.
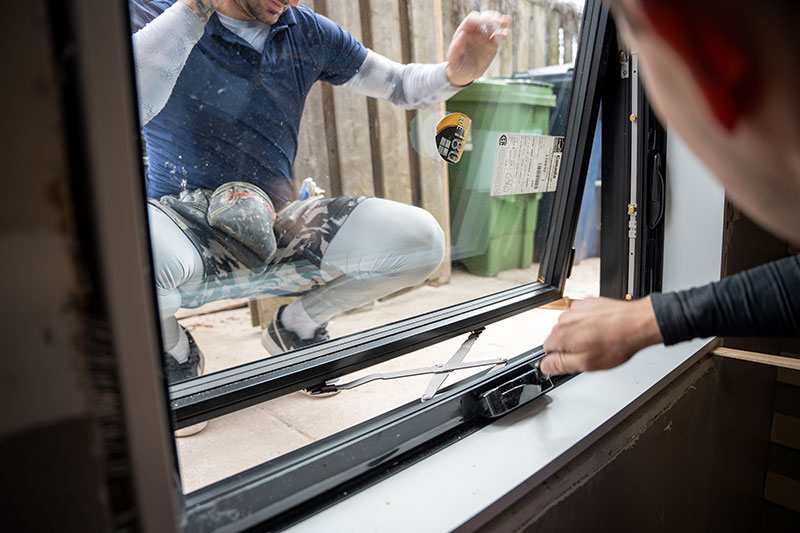
4. Position the window: With assistance, place the window into the opening from the outside, pressing firmly into the sealant.
5. Level and square: Use a level to ensure the window is perfectly level and plumb. Then, check the diagonal measurements to confirm the window is square.
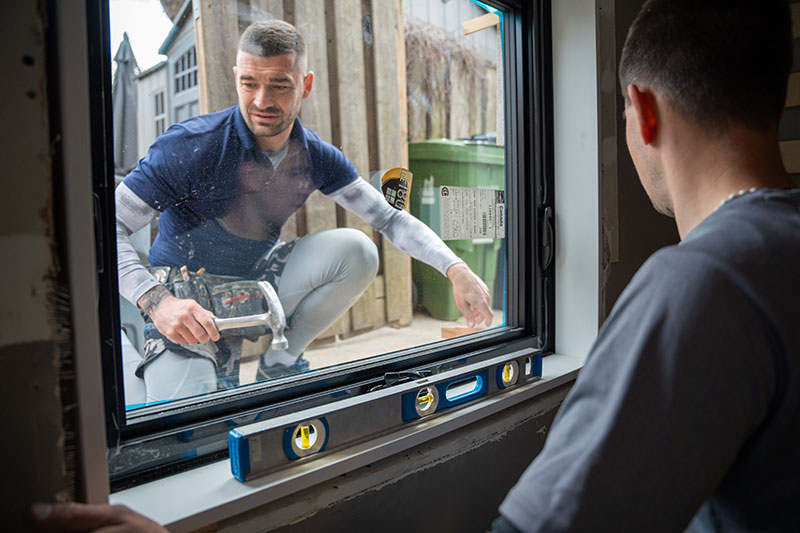
6. Secure temporarily: Insert shims at the corners and midpoints to maintain spacing and support the window.
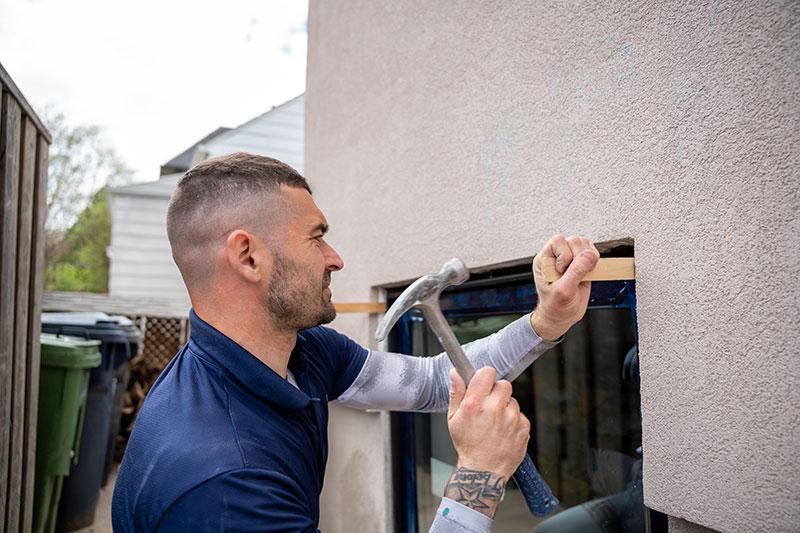
7. Attach the window: Follow the manufacturer’s instructions for securing the window. Typically, this involves driving screws through pre-drilled holes in the frame. Be careful not to overtighten, which can distort the frame.
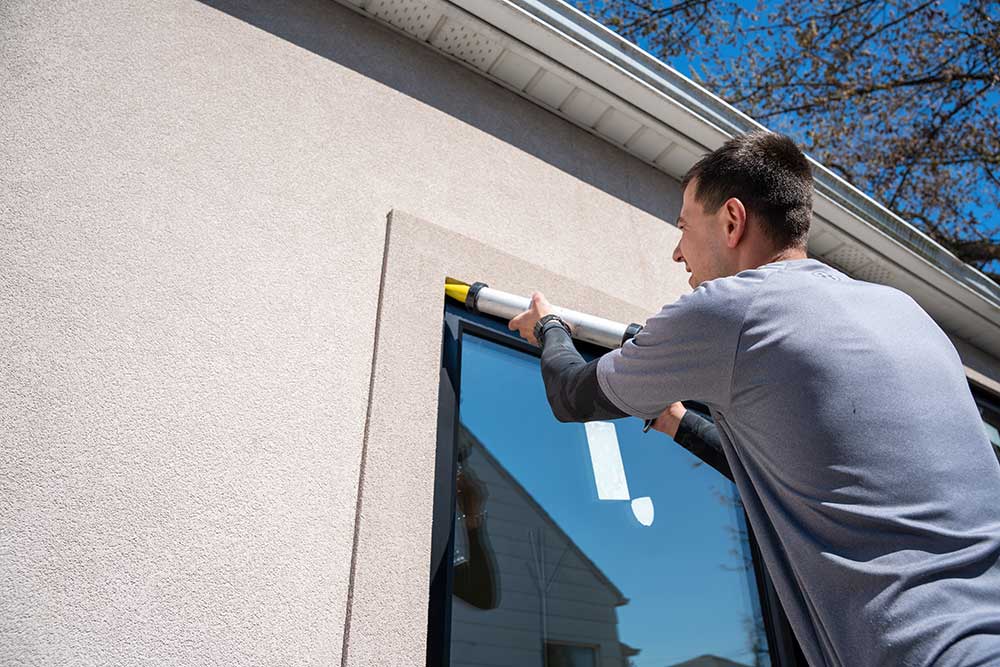
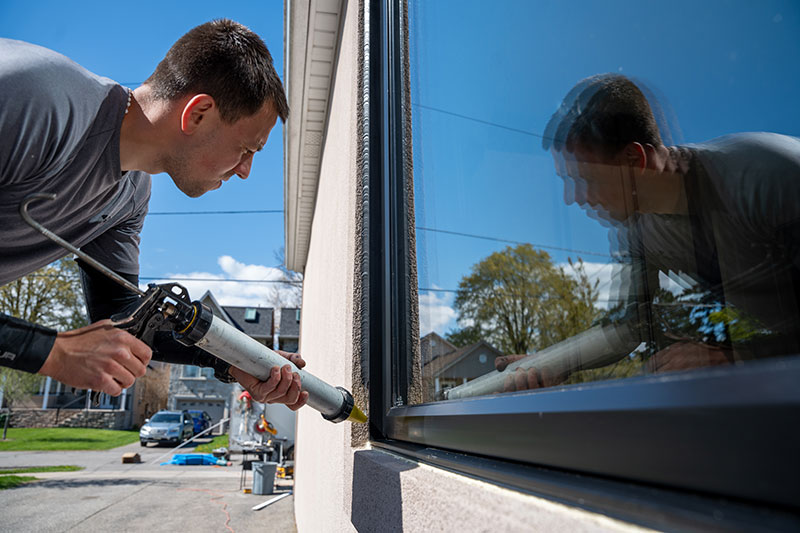
8. Apply sealant: Run a continuous bead of exterior-grade silicone caulk along the outer edge of the window opening.
Sealing and Insulation
Proper sealing and insulation are critical for energy efficiency and preventing water intrusion:
- Exterior sealing: Apply exterior caulking around the perimeter of the window frame, ensuring a continuous seal where the window meets the exterior cladding. Leave a small gap at the bottom for drainage in certain window types.
- Insulation: Fill the gap between the window frame and rough opening with low-expansion foam insulation explicitly designed for windows and doors. Avoid high-expansion foams, which can distort the frame. Read more about proper insulation techniques.
- Weatherstripping: Ensure all weatherstripping is seated correctly and continuous around operable sashes.
- Interior sealing: Once the exterior is sealed and the insulation has cured, apply a bead of paintable caulk around the interior perimeter.
Finishing Touches
1. Interior trim: Install or reinstall interior trim, caulking where it meets the wall and window frame.
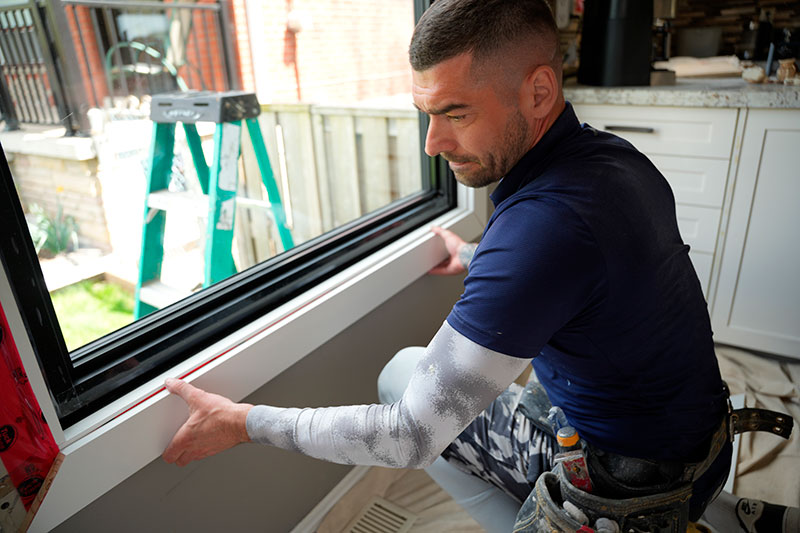
2. Exterior finishing: Apply exterior trim as needed and ensure all flashing is correctly integrated with the window and building envelope.
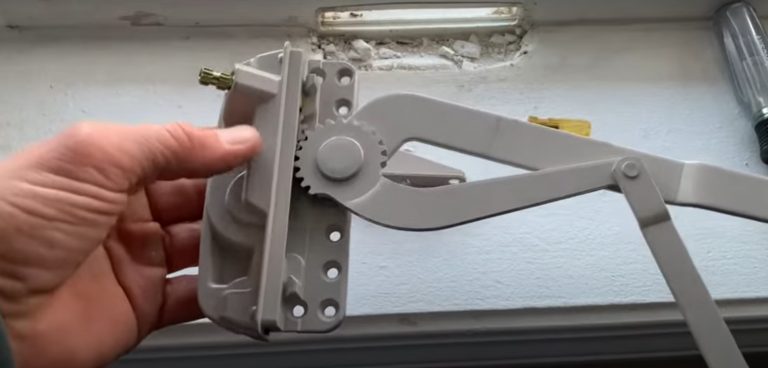
3. Hardware installation: Install any handles, locks, or cranks according to the manufacturer’s instructions. If you’re replacing window cranks, follow our guide for proper installation.
4. Final testing: Test the window’s operation, ensuring it opens, closes, and locks smoothly. Check for any visible gaps or drafts.
Part 4: Special Considerations for Energy Efficiency Upgrades
Window installation presents an excellent opportunity to improve your home’s energy efficiency:
- Advanced glazing options: Consider triple-pane windows with Low-E coatings and argon gas fills for maximum efficiency.
- Thermal breaks: Look for windows with thermal breaks in the frames to reduce heat transfer.
- Proper air sealing: Pay special attention to air sealing around the window perimeter.
- Energy rebates: Many Canadian provinces offer energy rebates for qualifying window replacements. Check the window rebate programs in Ontario or your specific province to maximize your return on investment.
Part 5: Post-Installation: Testing Your New Windows
After installation, thoroughly test your new windows:
- Operation check: Ensure each window opens, closes, and locks smoothly without binding.
- Visual inspection: Look for gaps, missing caulk, or visible issues with flashing or trim.
- Air leakage test: Hold a lit incense stick near window edges on a windy day. Smoke blowing horizontally indicates air leakage.
- Water test: After a heavy rain, check for any signs of water intrusion around the window.
Ontario Window Rebate Program 2025
* Can be combined with the interest-free Canada Greener Homes Loan of up to $40,000
Rebate Per Opening:
$100 per window or door
Conclusion
When done correctly, installing windows is a significant project that can enhance your home’s comfort, appearance, and energy efficiency. While many homeowners with DIY experience can successfully install windows, don’t hesitate to consult professionals if you’re unsure about any aspect of the project. Or
Frequently Asked Questions
Can I replace a window by myself?
Yes, homeowners with basic DIY skills can install windows themselves. However, it requires proper tools, accurate measurements, and careful attention to detail. For larger windows or second-story installations, professional help is recommended for safety and warranty purposes.
Is it difficult to replace a window?
Window replacement is moderately difficult. While not overly complex, it requires precision, proper techniques, and sometimes two people. The most challenging aspects include ensuring the window is level, properly sealed, and anchored to prevent future issues.
What is the typical cost to replace a window?
In Canada, professional window replacement typically costs between $500 and $1,500 per window, depending on size, type, and quality. Energy-efficient options and custom sizes will increase costs. DIY installation can save on labour, representing about 30% of the total cost.
Can I replace just the window and not the frame?
Yes, insert or pocket replacements allow you to replace just the window while keeping the existing frame. This is only suitable when the current frame is in good condition without rot, warping, or damage. It’s a less invasive and typically less expensive option.
Why is window installation so expensive?
Window installation costs reflect quality materials, specialized expertise, proper sealing techniques, and the precision required for energy efficiency. Professional installers also provide warranties, ensure code compliance, and handle the disposal of old windows—all factors in the overall price.
How long does it take to get windows installed?
Depending on complexity, professional installers can replace 5-10 windows per day. After purchase, custom windows must be manufactured for 3-8 weeks before installation can begin. Weather conditions and special requirements may affect the schedule.
Can windows be installed in winter?
Yes, windows can be installed year-round in Canada. Winter installations require special considerations like cold-weather sealants and working quickly to minimize heat loss. Many installers offer year-round services with specific protocols for cold-weather installation.
How do I know if I need replacement windows?
Consider replacement if you notice drafts, difficulty operating windows, condensation between panes, excessive outside noise, or rising energy bills. Windows over 15-20 years old may also benefit from replacement with more energy-efficient models available today.
Do I need permits to replace windows?
Most like-for-like window replacements don’t require permits, but to be specific, check with local building authorities. Permits are typically required if you’re changing the size of the opening, adding new windows, or making structural modifications to your house.
How do I prepare my house for window installation?
Remove window treatments, clear furniture from access paths, and ensure installers have clear space to work (about 5 feet inside and outside). Deactivate security systems, remove wall decorations near windows, and secure pets away from work areas.
How do I file a warranty claim if there are issues?
Keep all purchase documentation and warranty information. If issues arise, document the problem with photos, then contact your window company directly. Most warranties require you to file claims through proper channels and may require an inspection visit.

