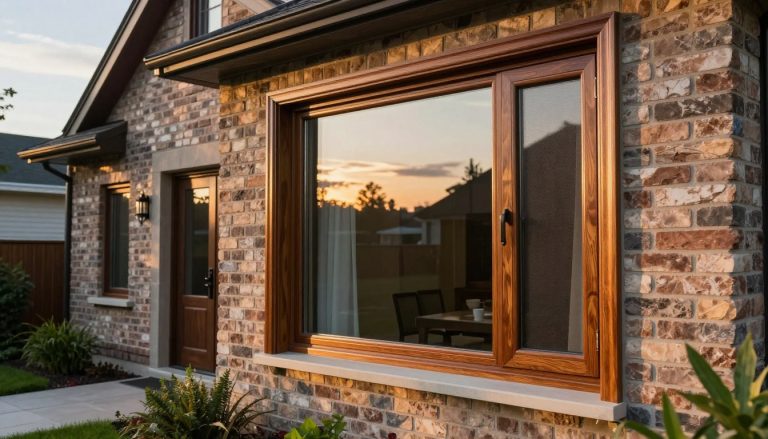
As a Sales Consultant at Total Home Windows and Doors, I’ve seen my fair share of window-related issues. One common problem homeowners face is damaged or rotted outside window sills. In this comprehensive guide, I’ll walk you through the process of exterior window sill replacement, ensuring you have all the information you need to tackle this project with confidence.
Key Takeaways
- Proper assessment of damage is crucial before starting the replacement process.
- Choosing the right material for your new window sill can significantly impact its longevity and maintenance requirements.
- Using the correct tools and following a step-by-step process ensures a professional finish.
- Regular maintenance and care can extend the life of your newly replaced window sill.
- Don’t hesitate to seek professional help if the project seems too complex or time-consuming.
Window and Doors Replacement Near Me
Assessing the Damage
Before diving into the replacement process, it’s essential to thoroughly assess the condition of your current window sill, especially if you suspect a rotted window sill. This step will help you determine the extent of the damage and plan your approach accordingly.
Identifying Rotted Wood or Other Damage
Start by inspecting your window sill for signs of a rotted windowsill, water damage, or other issues. Look for:
- Soft or spongy areas in the wood
- Discoloration or dark spots
- Peeling paint or cracks in the surface
- Visible mold or mildew growth
As Anna Klein, our Chief Operating Officer, often says, “Catching window sill damage early can save homeowners thousands in potential repairs down the line.”
Determining the Extent of Replacement Needed
Once you’ve identified the damage, assess whether you need to replace the entire sill or just a portion of it. In some cases, you may be able to repair small areas of rot using wood filler. However, if the damage is extensive, a full replacement is usually the best course of action.
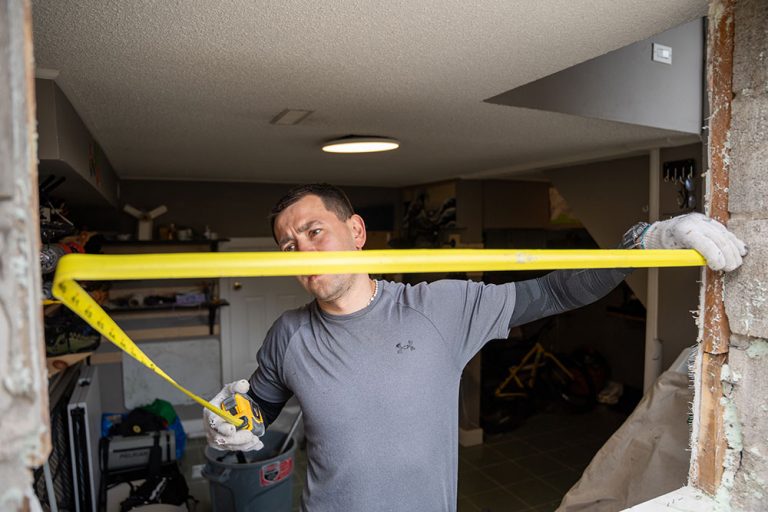
Measuring the Window Sill for Replacement
Accurate measurements are crucial for a successful window sill replacement. Measure the length, width, and thickness of your current sill, making sure to account for any overhangs or unique features. It’s always better to measure twice and cut once!
Find related services
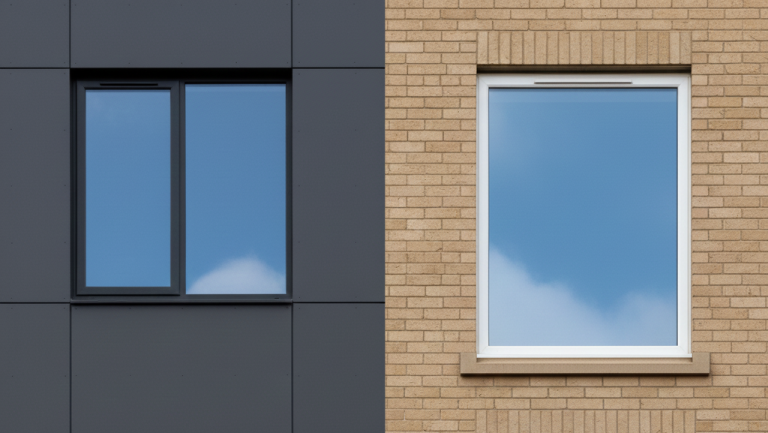
Choosing the Right Material
Selecting the appropriate material for your new window sill is a critical decision that will impact its durability, maintenance requirements, and overall appearance. Let’s explore the most common options:
Wood: Traditional and Versatile
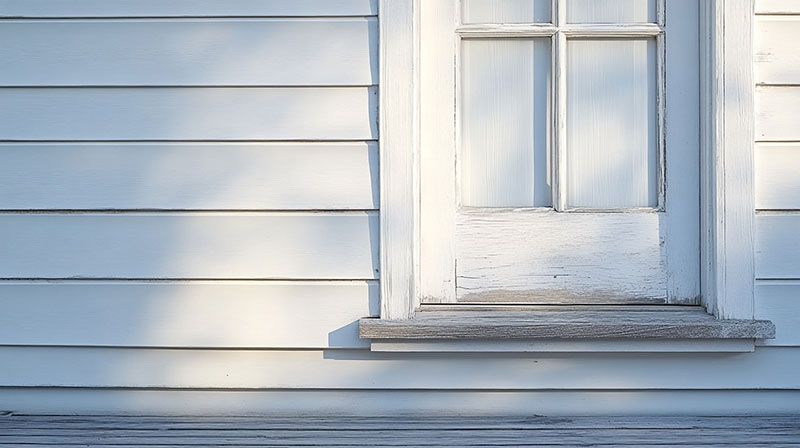
Wood remains a popular choice for window sills due to its classic look and versatility. It can be easily painted or stained to match your home’s aesthetic.
Pros
Cons
PVC: Low-maintenance and Durable

PVC (polyvinyl chloride) is a synthetic material that offers excellent durability and low maintenance requirements.
Pros
Cons
Concrete: Long-lasting and Weather-Resistant
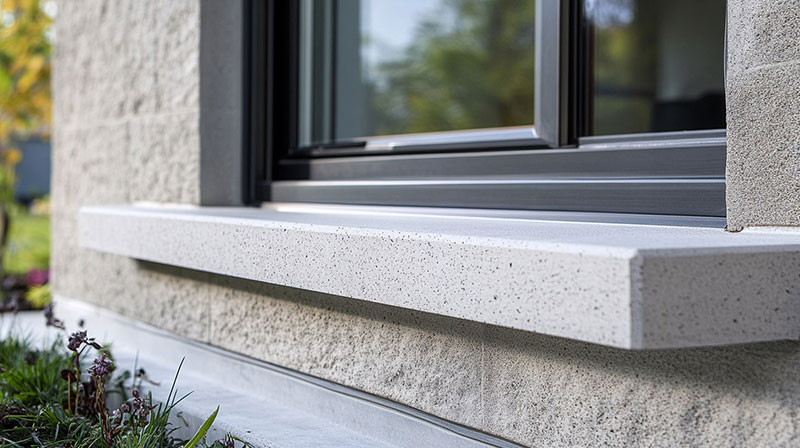
Concrete window sills are an excellent choice for those seeking a virtually maintenance-free option with superior durability.
Pros
Cons
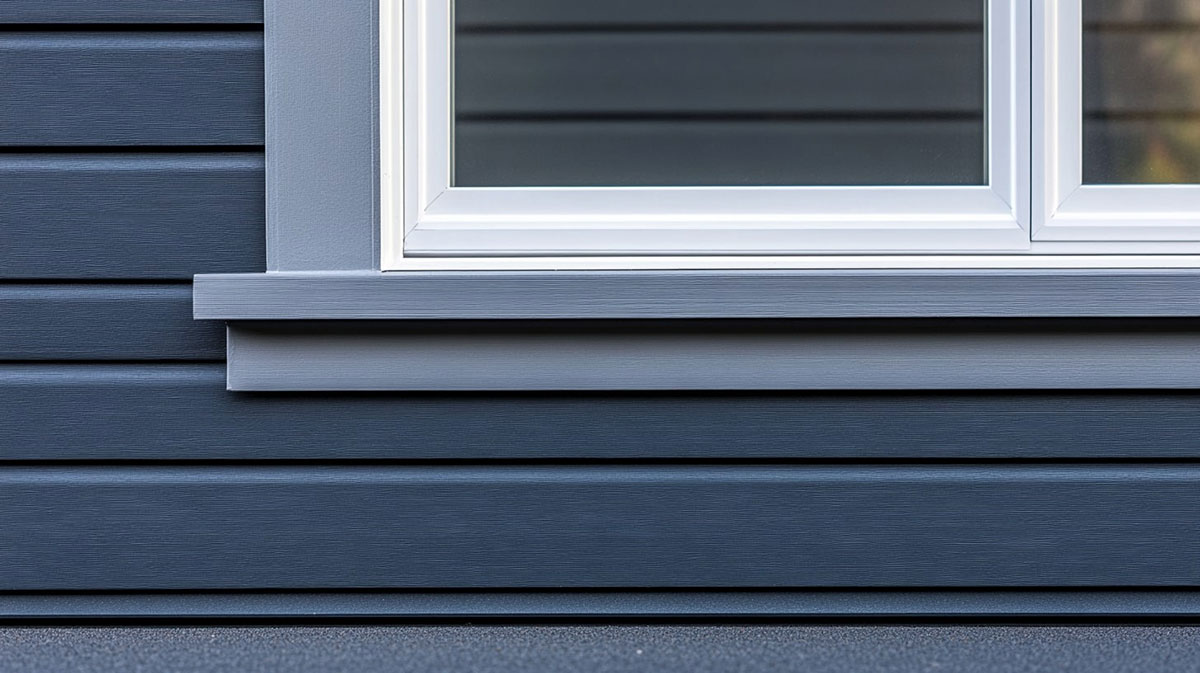
Stainless Steel: Modern and Indestructible
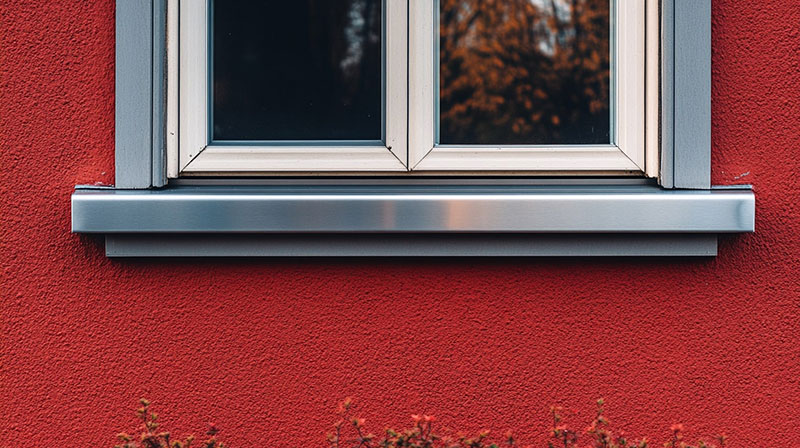
Stainless steel window sills represent a modern approach to window sill construction, offering unmatched durability and a contemporary aesthetic that works particularly well in modern architectural designs.
Pros
Cons
To help you make an informed decision, here’s a comparison table of the three materials:
| Material | Durability | Maintenance | Cost | Aesthetic Appeal | Weather Resistance |
| Wood | Moderate | High | $ | High | Moderate |
| PVC | High | Low | $$ | Moderate | High |
| Concrete | Very High | Very Low | $$$ | Moderate | Very High |
| Stainless Steel | Excellent | Minimal | $$$$ | High (Modern) | Excellent |
As Vitaly Shapiro, our Vice President of Sales, often reminds us
The right material choice depends on your specific needs, budget, and the climate in your area. Don't hesitate to consult with a professional if you're unsure.
Explore energy-efficient options
Tools and Materials Needed
Before you begin the replacement process, gather all the necessary tools and materials. Having everything on hand will make the job smoother and more efficient.
Essential Tools
- Circular saw
- Reciprocating saw
- Caulk gun
- Hammer
- Pry bar
- Tape measure
- Level
- Drill and drill bits
- Screwdriver
- Chisel
- Utility knife
- Random orbit sander
- Paint brushes or rollers
Safety Equipment
Don’t forget to prioritize your safety! Make sure you have:
- Safety goggles
- Work gloves
- Dust mask
- Ear protection (if using power tools)
Materials
- New window sill (cut to size or slightly oversized)
- Wood filler (if needed)
- Exterior-grade caulk
- Paint or stain (if using wood)
- Primer
- Sandpaper (various grits)
- Wood screws
- Nails
- Waterproof sealant
- Shims (if needed)
Eugene Siukayev, one of our experienced Project Managers, advises
Always invest in quality materials and tools. They may cost more upfront, but they'll save you time and frustration in the long run.
Find the Best Window Styles for your Home
How to Replace a Window Sill: Step-by-Step Process
Now that you’ve assessed the damage, chosen your material, and gathered your supplies, it’s time to dive into the replacement process. Follow these steps carefully to ensure a successful outcome.
How to Replace a Window Sill: Step-by-Step Process
Removing the Old Sill
Cutting out the damaged section: Use your circular saw or reciprocating saw to carefully cut out the damaged portion of the sill. If you’re replacing the entire sill, make cuts at both ends where it meets the window frame. For expert guidance, an old house general contractor recommends precise cuts to ensure a proper fit for the new sill.
Removing nails and screws: Use your pry bar and hammer to remove any nails or screws holding the old sill in place. Be careful not to damage the surrounding window frame or siding.
Cleaning the sill space: Once the old sill is removed, clean out any debris, old caulk, or rotted wood from the sill space. This will provide a clean surface for your new sill.
Preparing the Area
Addressing any underlying damage: Inspect the area beneath the old sill for any signs of water damage or rot. If you find any issues, address them before installing the new sill to prevent future problems.
Applying wood filler if necessary: If there are any small gaps or imperfections in the sill space, fill them with exterior-grade wood filler. Allow it to dry completely before proceeding.
Ensuring a level surface: Use your level to check that the sill space is even. If needed, use shims to create a level surface for your new sill.
Alexandr Naumov, another of our skilled Project Managers, emphasizes
Proper preparation is key to a long-lasting window sill replacement. Don't rush this step!
Installing the New Sill
Cutting the new sill to size: If your new sill isn't pre-cut, use your measurements to cut it to the correct size. Remember to account for any overhang or slope.
Fitting and securing the new sill: Place the new sill in position, ensuring it fits snugly. Secure it using exterior-grade wood screws or nails, depending on your chosen material.
Sealing gaps and cracks: Apply a bead of exterior-grade caulk around the edges of the new sill to create a watertight seal. Smooth the caulk with your finger or a caulk tool for a neat finish.
Finishing Touches
Sanding and smoothing edges: If you're using wood, sand the new sill to ensure smooth edges and surfaces. For other materials, follow the manufacturer's recommendations for finishing.
Painting or staining: For wood sills, apply a coat of primer followed by your chosen paint or stain. For other materials, follow the manufacturer's guidelines for finishing.
Applying caulk for weatherproofing: Once the paint or stain is dry, apply a final bead of caulk along the top edge where the sill meets the window frame to ensure complete weatherproofing.
Best window companies reviews
Tips for a Professional Finish
To achieve a professional-looking result, keep these tips in mind:
Ensure proper slope for water drainage: Your new sill should have a slight downward slope away from the house to allow water to drain properly. A slope of about 5 degrees is typically sufficient.
Use pressure-treated lumber for added durability: If you're opting for wood, consider using pressure-treated lumber for increased resistance to rot and insect damage.
Address the window frame and jamb if necessary: While replacing the sill, inspect the surrounding window frame and jamb for any signs of damage. Addressing these issues now can prevent future problems.
Daniel Klein, one of our seasoned Project Managers, notes
Attention to detail is what separates a DIY job from a professional installation. Take your time and focus on the little things.
Maintenance and Care
To keep your newly replaced window sill in top condition, follow these maintenance tips:
Regular Inspections
Perform visual inspections of your window sills at least twice a year, looking for any signs of wear, damage, or water infiltration.
Cleaning and Resealing
Clean your window sills regularly with a mild detergent and water solution. Reapply caulk or sealant as needed, typically every 2-3 years or when you notice any cracks or gaps.
Touching Up Paint or Stain
For wood sills, touch up the paint or reapply stain every few years to maintain its protective qualities and appearance.
Conclusion
Replacing a window sill outside your home can seem daunting, but with the right tools, materials, and approach, it’s a project that many homeowners can tackle successfully. Proper installation is crucial for ensuring the longevity of your new sill and maintaining your home’s curb appeal.
Remember, if at any point you feel overwhelmed or unsure about the process, don’t hesitate to seek professional help. At Total Home Windows and Doors, we’re always here to assist you with your window and door needs.
As we like to say at Total Home Windows and Doors, “A well-maintained home is a happy home.” By taking care of your window sills, you’re not just improving your home’s appearance – you’re protecting its structural integrity and ensuring its comfort for years to come.
Have you tackled a window sill replacement project before? We’d love to hear about your experiences and any tips you might have for fellow homeowners. Feel free to share your thoughts in the comments below!
Learn more about our window replacement services to see how we can help you with your next home improvement project.
Frequently Asked Questions
How can I tell if my window sill is rotted?
A rotted sill often feels soft or spongy to the touch. You might notice visible signs of decay, such as discoloration, cracking, or crumbling wood. In severe cases, you may even be able to push a screwdriver into the wood easily. If you suspect a rotted sill, it’s crucial to address it promptly to prevent further damage.
What's the best way to remove rotten wood from my window sill?
To remove rotten wood, start by using a flat pry bar to carefully remove any loose or severely decayed portions. Then, use a chisel or a multi-tool to scrape away the remaining soft wood until you reach solid material. Be careful not to damage the surrounding healthy wood. Once you’ve removed the rotten sections, you can fill small areas with wood fillers or replace larger sections with new wood.
What is a sill nose, and why is it important?
The sill nose is the front edge of the window sill that extends beyond the wall. It’s crucial because it helps direct water away from the window and wall, preventing moisture damage. When replacing your window sill, ensure that the new sill has a properly sloped nose to maintain this important function.
Can you recommend some tools for a DIY window sill replacement?
Some essential tools for a DIY window sill replacement include a flat pry bar for removing the old sill, a hand plane for shaping the new wood, and a dead blow mallet for gently tapping the new sill into place without damaging it. You’ll also need basic carpentry tools like a saw, drill, and screwdriver. For old house ventures, having a variety of tools on hand can be helpful as you may encounter unexpected challenges.
How do I ensure the new wood for my window sill is properly protected?
To protect your new wood sill, start by treating it with a wood preservative before installation. Once installed, apply a high-quality exterior primer, followed by at least two coats of exterior paint or stain. Make sure to paint or stain all sides of the sill, including the bottom and ends, to provide complete protection against moisture. Regular maintenance, such as repainting every few years, will help extend the life of your new sill.