As Project Manager at Total Home Windows and Doors, I’ve seen countless homeowners struggle with one of the most critical steps in window replacement: taking accurate measurements. After working with over 28,000 satisfied customers across Central and South Ontario, I can tell you that proper measurement is the foundation of any successful window project. Let me walk you through everything you need to know about measuring windows correctly.
Window and Doors Replacement Near Me
Why Accurate Window Measurements Matter
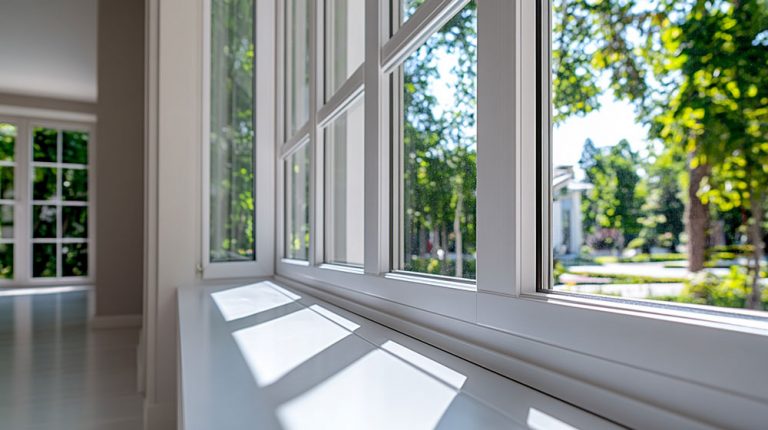
Getting your window measurements right isn’t just about ensuring a proper fit—it’s about maximizing energy efficiency, avoiding costly mistakes, and ensuring your new windows perform as expected. With our energy-efficient windows, even a small measurement error can compromise the seal and reduce the effectiveness of features like our Total Seal technology.
"In my years as a Sales Consultant, I've learned that the most successful window projects start with precise measurements. When homeowners take their time with this step, everything else falls into place beautifully." - Cherry Jian, Sales Consultant
Find related services
Preparing to Measure Your Windows
Before you decide to replace your windows, proper preparation with the right tools and clear instructions will help you avoid common mistakes that could affect your entire house project.
Essential Tools You’ll Need
Before you begin measuring your window opening, gather these necessary tools:
- Tape measure (25-foot minimum recommended)
- Pencil and notepad for recording measurements
- Flashlight for better visibility
- Screwdriver for removing trim pieces
- Level to ensure accurate readings
Accessing the Window Frame
The first step in measuring windows is gaining proper access to the window frame. You’ll need to remove any trim strips, parting beads, or decorative elements that might obstruct your view of the actual opening. This step is crucial because you want to measure the window opening itself, not the decorative elements around it.
Important Note: When measuring for replacement windows, always measure the window opening, not the rough opening. The rough opening is typically larger and used during new construction, while the window opening is what you'll need for replacement projects.
Explore energy-efficient options
Measuring the Window Frame and Opening
Understanding the differences between various measurement points along your wall will provide accurate answers for your installer, ensuring each sash fits perfectly from edge to edge according to professional advice.
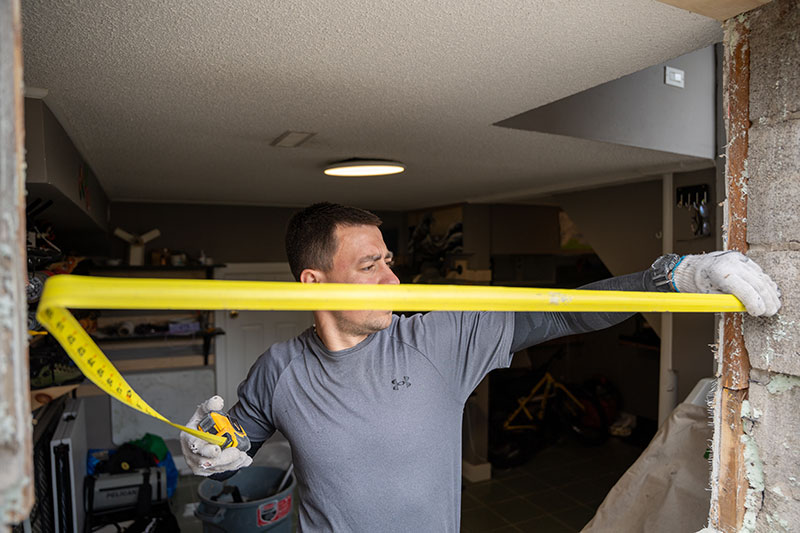
Width Measurements

To measure windows accurately, you need to take three measurements across the width of the window frame:
- Top measurement: Measure from the left side to the right side at the top of the frame
- Middle measurement: Take a measurement at the center point of the frame
- Bottom measurement: Measure across the bottom of the frame
| Measurement Location | Purpose | Special Considerations |
| Top | Check for settling | Often the narrowest point |
| Middle | Reference point | Usually most accurate |
| Bottom | Foundation check | May show structural issues |
"The key to accurate measurement is patience. I always tell my clients to measure twice, cut once—but in our case, it's measure three times, order once!" - Eugene Siukayev, Project Manager
Height Measurements
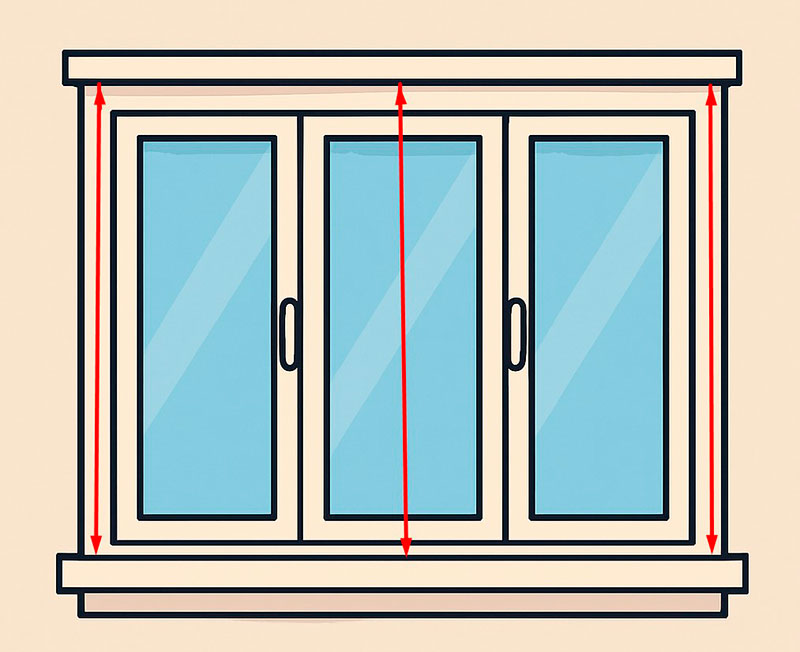
Similarly, take three height measurements of the window frame:
1. Left side: Measure from head to sill on the left jamb
2. Center: Take a measurement at the middle of the opening
3. Right side: Measure from head to sill on the right jamb
Critical Rule: Always record the smallest measurement for both width and height. This ensures your replacement windows will fit properly without forcing or damaging the frame.
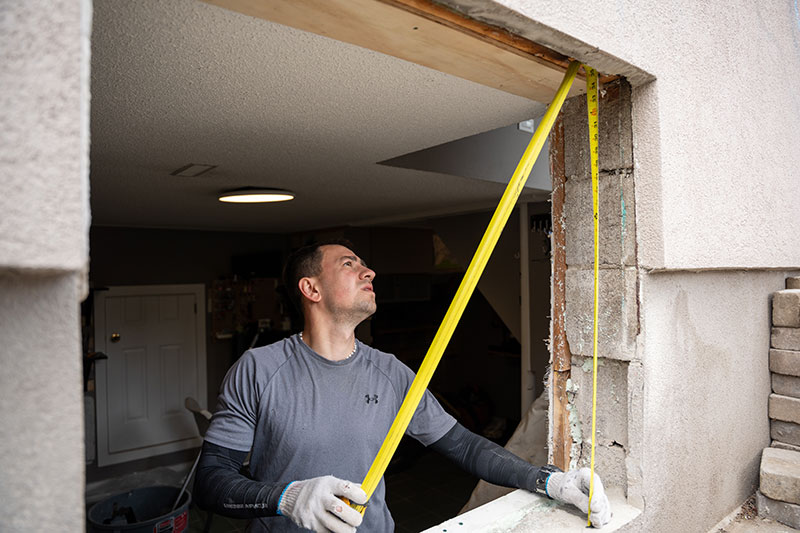
Depth Measurements
Don’t forget to measure the depth of the window frame from the interior surface to the exterior surface. This measurement typically ranges from 3 to 6 inches and determines what type of replacement window will suit your opening.
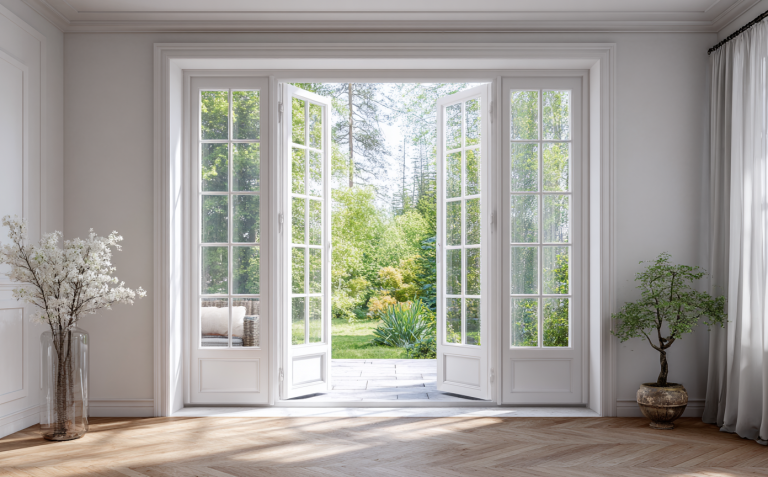
Find the Best Window Styles for your Home
Measurement Techniques and Tips
Following proper measurement techniques with clear instructions will help you decide on the best approach for your house, ensuring accurate answers for your installer while considering the differences between each sash and wall edge according to professional advice.
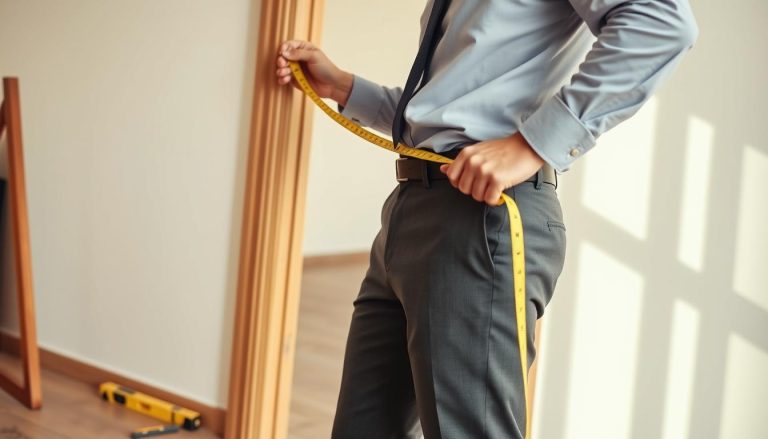
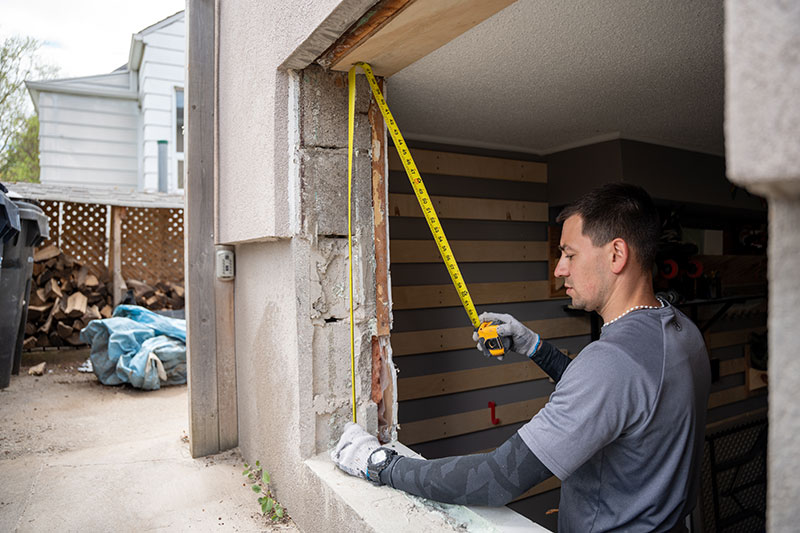
Using Your Tape Measure Effectively
Hold your tape measure straight and taut from point to point across the frame. Avoid letting it sag in the middle, as this can lead to inaccurate measurements. When measuring the aperture opening where the window is fitted, make sure you’re measuring the actual space, not the old window itself.
Taking Multiple Measurements
For double-hung windows and other operating window types, it’s especially important to take multiple measurements. The window frame can settle over time, creating variations that could affect the fit of your new windows.
Pro Tip: When measuring sliding windows, pay special attention to the track dimensions and ensure you measure the wider dimension, including the track where the window rides.
Common Mistakes to Avoid When Measuring for Replacement Windows
Before you decide to replace windows in your house, understanding these common mistakes with clear instructions will help you provide accurate answers to your installer about wall measurements, sash dimensions, and edge details, while professional advice highlights the differences that matter most.
Don’t Measure the Old Window
One of the biggest mistakes homeowners make is measuring the old windows instead of the window opening. The old window may have shifted, warped, or been installed incorrectly, leading to inaccurate dimensions for your replacement project.
Avoid Measuring Only the Rough Opening
The rough opening is typically 1-2 inches larger than needed for replacement windows. Always measure the actual window opening where your new window will be installed.
Ignoring Tolerance Requirements
Many manufacturers require you to deduct 5-10mm from brick-to-brick measurements for tolerance. This small adjustment ensures proper fit and allows for thermal expansion and contraction.
| Mistake | Consequence | Solution |
| Single measurement only | Poor fit | Take three measurements |
| Measuring old window | Wrong dimensions | Measure opening instead |
| Ignoring obstructions | Installation problems | Check for blocked areas |
| Rushing the process | Costly errors | Take your time |
Understanding Window Dimensions and Specifications
When shopping for replacement windows, you’ll encounter various measurement specifications:
- Nominal dimensions: Standard industry sizing
- Actual dimensions: Precise measurements of the window
- Rough opening: Space required during construction
- Unit dimensions: Overall size including frame
Our manufacturing process at Total Home Windows and Doors uses specialized software that processes all your preferences, dimensions, and requirements, ensuring each window is tailored to fit perfectly.
Final Check and Verification
Before placing your order, verify your measurements at least two or three times. This simple step can save you from costly mistakes and project delays. Here’s your final checklist:
- Width measurements (3 locations)
- Height measurements (3 locations)
- Depth measurements
- Smallest dimensions recorded
- Special requirements noted
- All trim and parting strips removed during measurement
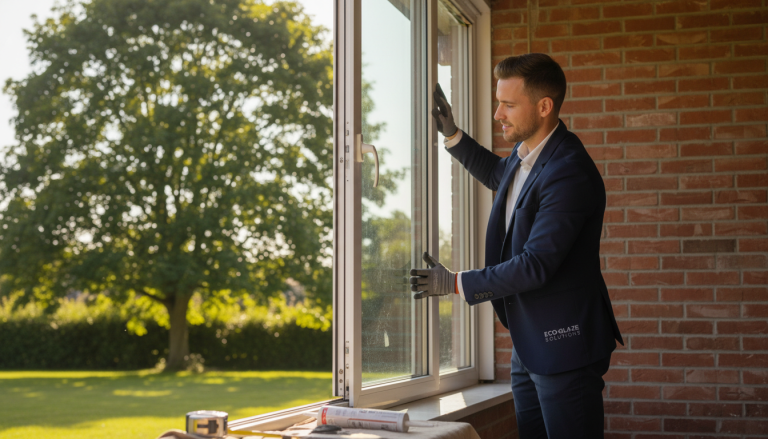
Getting Professional Help
While measuring windows yourself is certainly possible, consider professional measurement services, especially for:
- Complex window configurations
- Historic homes with unique dimensions
- Large replacement projects
- Windows requiring structural modifications
Our consultation process begins when you submit a request, and one of our experienced consultants visits your home with years of industry expertise and deep understanding of product capabilities and limitations.
Ready to start your window replacement project? Contact us today for a professional consultation and let our experienced team guide you through every step of the process.