Bay window dimensions vary by style and manufacturer, but a common range is about 3 ft 6 in to 10 ft 6 in wide, 3 ft to 6 ft 6 in high, and roughly 12 to 24 inches deep from the wall.
Typical size ranges
Width: 3 ft 6 in to 10 ft 6 in is a common standard range.
Height: 3 ft to 6 ft 6 in is a typical range.
Depth: 12 to 24 inches is common, with deeper projections used for seating nooks.
Design variations
Bay windows are often built with 3 to 6 units and can use different angles, including 10, 30, or 45 degrees depending on the product line. Some sources also note common bay angles like 90°, 135°, and 150° in residential designs. A 30-degree bay window can span about 4 ft 6 in to 12 ft 1 in wide, with depth around 1 ft 2 in to 2 ft.
Measuring for a fit
To size a bay window correctly, measure the width across the opening, the height from sill to top frame, and the projection out from the wall. If the bay is being replaced rather than newly built, the existing structure usually determines the usable dimensions.
Practical note
For seating bays, a deeper projection of 24 inches or more is often more comfortable and functional. In tighter spaces, a shallow bay around 12 to 18 inches can still add light and visual depth without major structural impact.
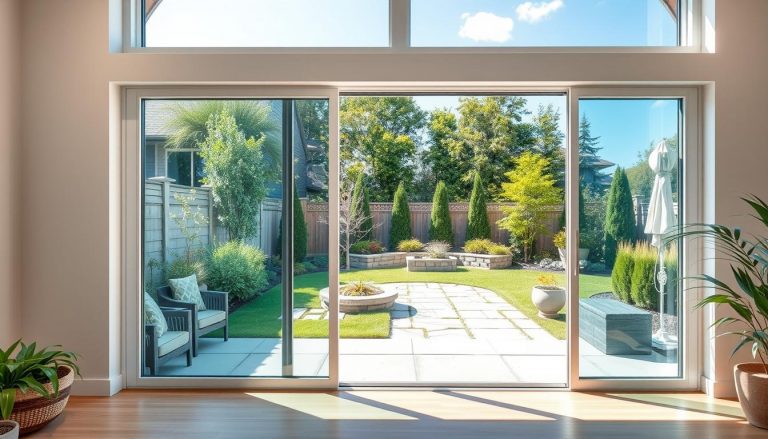
Understanding Bay Windows and Their Configurations
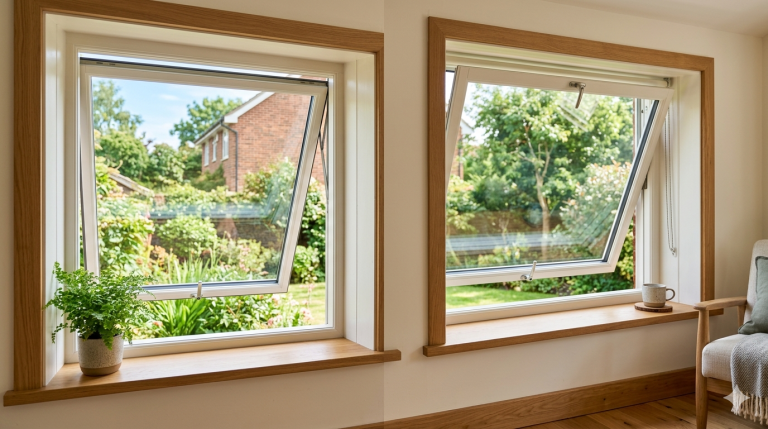
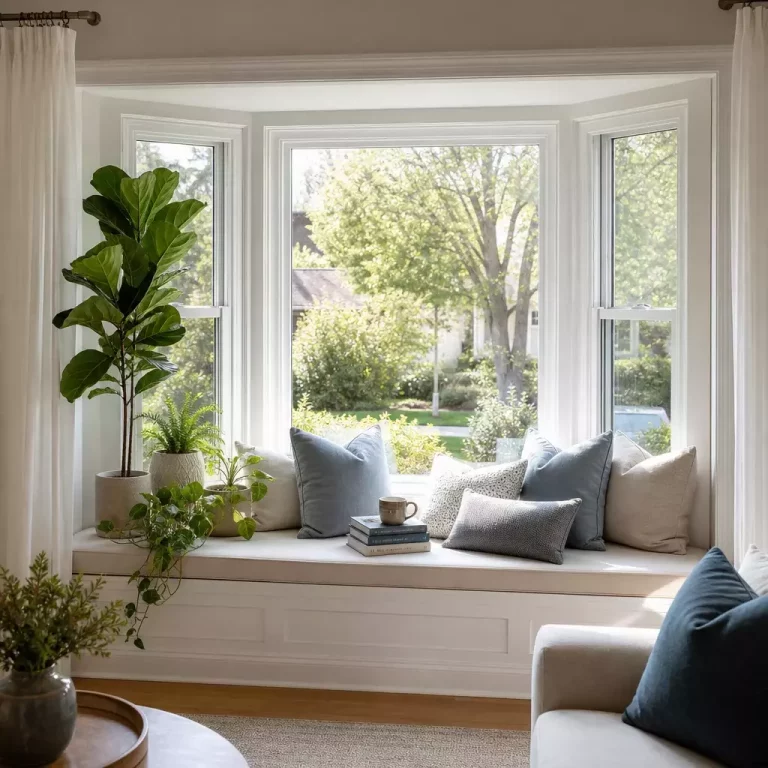
Before measuring, homeowners must identify whether their bay window is traditional or separated in design. These structures are defined as a set of openings that angle toward each other. They often create a unique shape within a room.
This design expands your interior space and captures abundant natural light. It typically results in a charming alcove, perfect for a cozy seat.
Traditional configurations feature little to no separation between the individual sections. This continuous glass area requires careful attention when selecting your preferred window treatments.
Choosing a well-fitted blind shade can transform the look of your space. An ill-fitting product, however, can become a visual eyesore.
Separated styles are characterized by large sections of wall or trim between each window. This design makes the process of sizing any new shade or blind much simpler.
We recommend checking the width of your intended window coverings carefully. The corners where sections meet can cause issues if not accounted for correctly.
Understanding your specific frame is the first step toward a successful installation. Many use the alcove created by these windows to add a functional and beautiful seat to the room.
Window and Doors Replacement Near Me
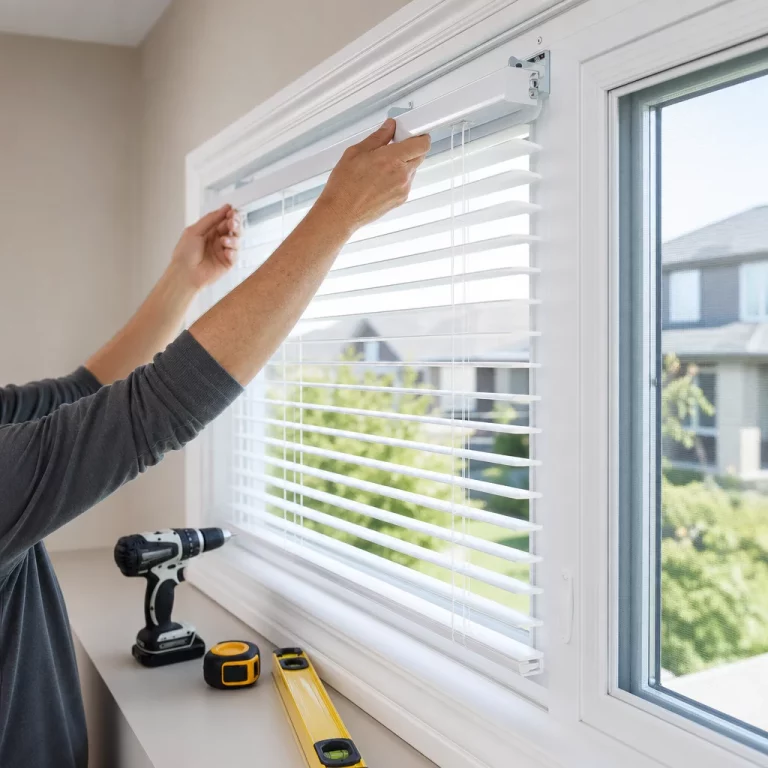
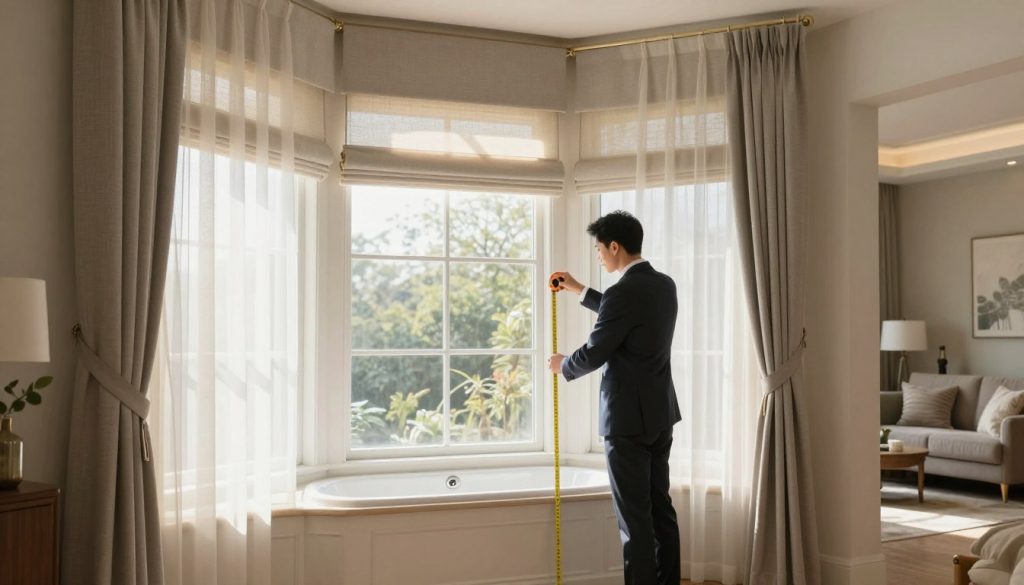
Essential Bay Window Measurements Techniques
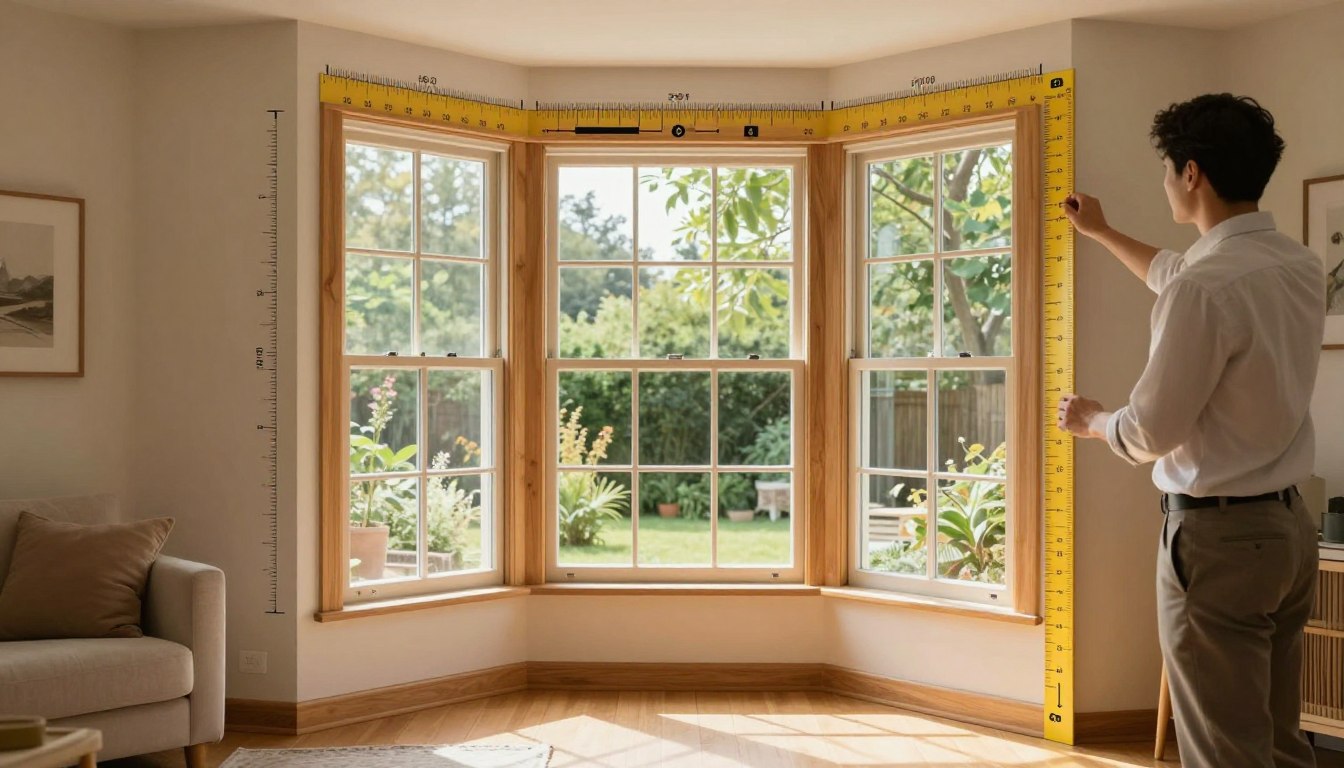
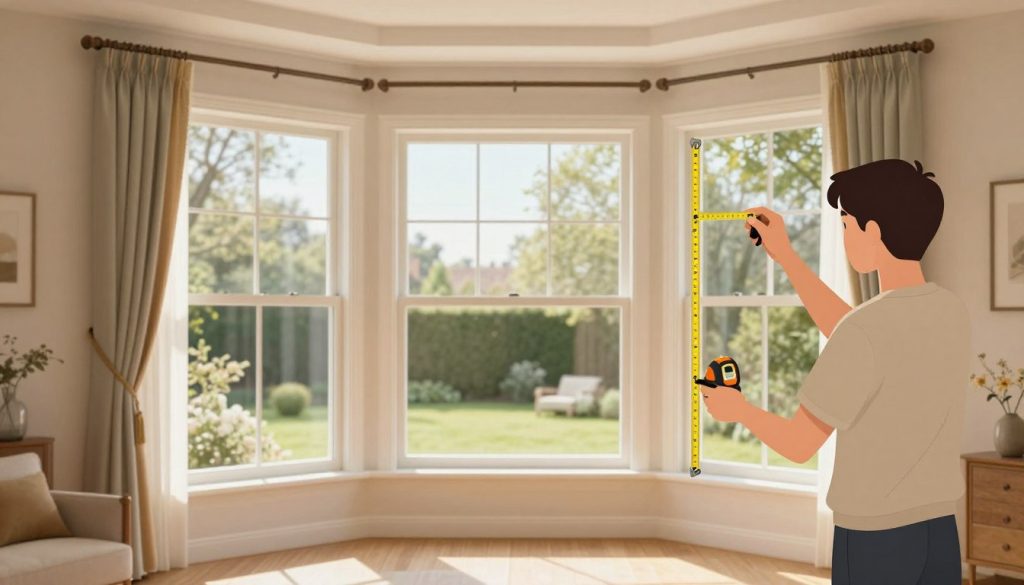
To ensure your new treatments operate smoothly, you must adopt specific measuring strategies designed for complex architectural features. The foundation of accuracy is a reliable steel tape. Always record dimensions down to the nearest 1/8th of an inch for every section.
Pay close attention to the mount depth. This is the flat surface where brackets will be secured for an inside installation. Ensure this space is not beveled, as a level surface is crucial for stability.
For traditional alcoves with connected glass, a simple cardboard trick prevents future issues. Cut two squares to match the depth of your chosen blind’s headrail. Place them in the corners of the frame to visually identify any potential collision points during operation.
With separated styles, check the width and height in three spots. Use the smallest width and the greatest height for your final numbers. Remember, a standard 1/2-inch deduction from the width is typical for inside mount blinds to ensure they don’t scrape. If any step feels unclear, watching a video tutorial can provide excellent visual guidance.
Find related services
Accurate Measurement Tips and Best Practices
Our best practices help you navigate the choice between an inside and an outside installation. The right decision ensures your new coverings look integrated and function perfectly.
First, always check the product specifications for the minimum inside mount depth. This is the flat space needed for a flush, built-in look. If your opening lacks this depth, a partial inside mount is often a viable alternative.
For an outside mount, we recommend adding 3 to 4 inches to the total width. This guarantees full coverage of the architectural frame. Also, add at least 2 inches to the height to accommodate the headrail above the opening.
If your feature has thick trim, measure from its outer edge to the opposite outer edge. This ensures the blind or shade will cover the entire area neatly.
Always verify that headrails will not collide in the corners using the cardboard square method. The process is identical whether you have three sections or more. Remember, no deductions are taken from the width for outside mounts.
Explore energy-efficient options
Wrapping Up Your Measurements and Next Steps
With the core techniques covered, the final stage involves verifying your numbers and planning the installation. Accurate data is the key to a perfect fit for your architectural feature.
We hope our guide has given you the confidence to proceed. Should any questions arise about your specific project, our expert consultants are ready to help. Please call them directly at 416-661 6666.
For homeowners who prefer professional assistance, we offer a measurement service. You can check your local zip code on our website to see if this option is available in your area.
Thank you for trusting our professional guidance. Taking these careful steps ensures your new coverings will enhance the comfort and style of your home for years.
Find the Best Window Styles for your Home
FAQ
What are the essential steps to measure for coverings in a recessed architectural feature?
We recommend starting by deciding between an inside or outside mount. For an inside mount, record the width at the top, middle, and bottom, and the height at both sides and centre. Use a metal tape for precision and note the smallest dimensions for a perfect fit.
How do I ensure my blinds or shades will fit within the frame?
Our technique involves checking the depth of the recess. Make sure there’s enough room for the headrail and mechanism. We advise making small deductions from your sizes to allow for smooth operation and proper clearance.
What is the best way to handle angled corners in this configuration?
For angled corners, we suggest using a cardboard template to trace the shape. This helps in customizing treatments that follow the unique lines of your space. Accurate tracing ensures products like custom blinds align perfectly.
Should I measure for an outside mount, and if so, how?
Yes, if depth is insufficient. For an outside mount, determine the area you want to cover on the wall. We recommend extending beyond the trim for a seamless look. Always record the width and height in multiple spots to account for any irregularities.
What tools do we need for this project?
You’ll need a steel tape measure, a pencil for marking, and a notepad. We also find a level helpful for ensuring straight lines. These tools help achieve professional results without hiring an expert.