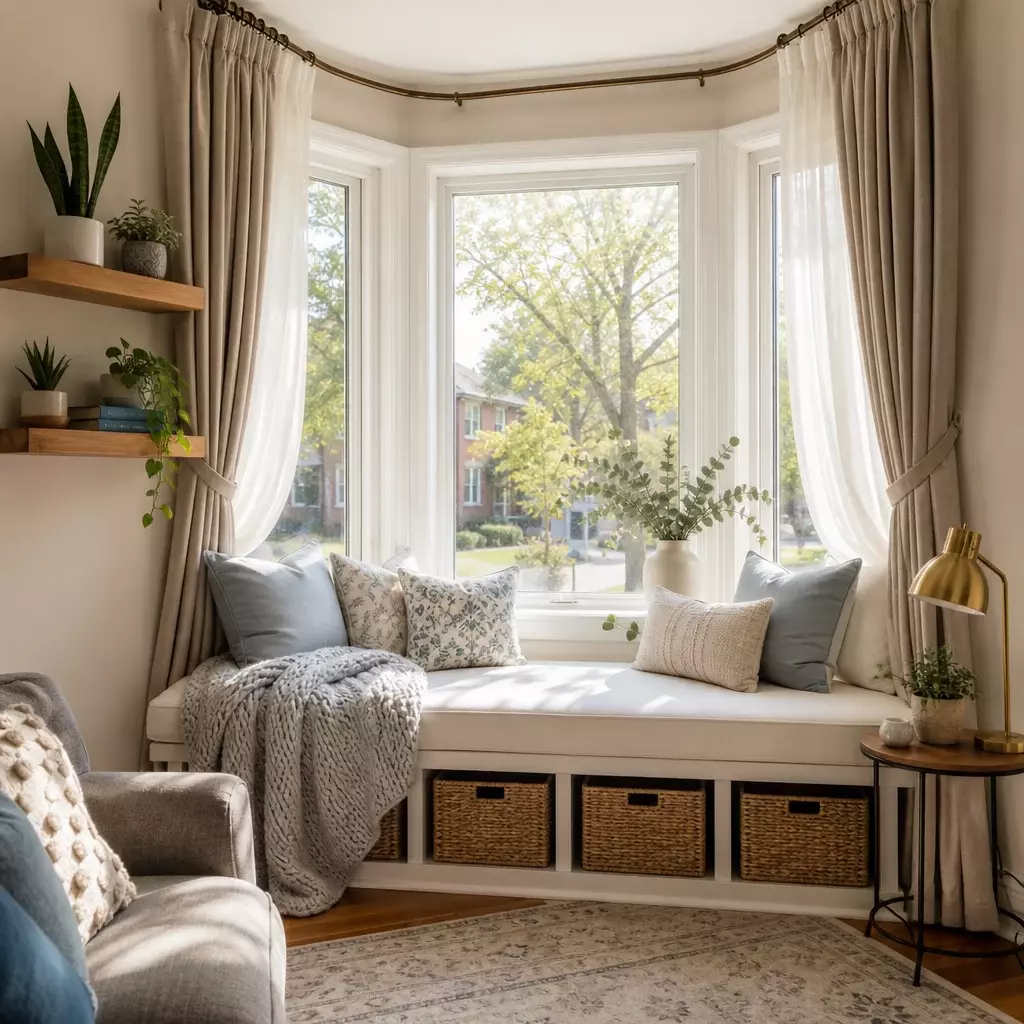
Small bay windows offer tremendous decorating potential despite their compact size. Transform your limited space with built-in seating that includes hidden storage, layer textiles for visual warmth, add floating shelves for plants or books, use light-filtering treatments to maintain brightness, and incorporate mirrors to expand the perceived area without overwhelming the architectural feature.
Key takeaways
- Built-in bench seating with lift-up storage maximizes functionality in compact bay window spaces while creating a cosy reading nook
- Layering sheer curtains with Roman blinds provides privacy control and visual depth without blocking natural light
- Vertical elements like tall plants or floor-to-ceiling curtains draw the eye upward, making small bay windows appear larger
- Light-coloured cushions and fabrics reflect sunlight better than dark materials, enhancing the sense of spaciousness
- Corner shelving units utilize awkward angles efficiently, turning dead space into display areas for decorative items
Window and Doors Replacement Near Me
When should you decorate a small bay window?
The best time to tackle bay window decoration is during spring or autumn when moderate temperatures make working near windows comfortable. If you’ve just moved into a new home, prioritize this project within the first three months to establish functional living spaces quickly.
Consider redecorating when your current setup feels cluttered or fails to serve a purpose. Seasonal changes offer natural opportunities to refresh window treatments and accessories. Winter months are ideal for adding thermal curtains or insulated blinds that reduce heat loss through glass surfaces.
Property value considerations matter too. Before listing your home for sale, a well-decorated bay window creates an attractive focal point that appeals to potential buyers. The investment typically costs less than $500 but can significantly influence first impressions during viewings.
“Small bay windows are architectural gems that homeowners often underutilize. With proper planning, even a compact bay can become the most charming feature in any room, adding both character and functionality.” – Vitaly Shapiro, Vice President of Sales
Find related services
Tools and materials you’ll need
Gather your supplies before starting to avoid interruptions during the decorating process. Most items are available at home improvement stores or online retailers.
Basic tools
- Measuring tape (25-foot minimum)
- Level (24-inch recommended)
- Cordless drill with assorted bits
- Pencil and notepad
- Stud finder
- Screwdriver set
Optional tools
- Miter saw for custom trim work
- Staple gun for upholstery projects
- Sewing machine for curtain alterations
Materials
- Window treatments (curtains, blinds, or shades)
- Cushions and throw pillows
- Curtain rods or mounting brackets
- Paint or stain for woodwork
- Decorative accessories (plants, books, artwork)
- Storage containers or baskets
- Fabric for cushion covers
- Wall anchors and screws
Explore energy-efficient options
Safety notes
Working around windows requires attention to basic safety protocols. Always use a sturdy step ladder with non-slip feet when installing curtain rods or shelving above shoulder height. Never stand on furniture or unstable surfaces.
When drilling into walls near vinyl windows, verify no electrical wiring runs through the installation area using a wire detector. Keep power tools away from water sources and ensure proper ventilation when using paints or adhesives.
Wear safety glasses during drilling operations to protect eyes from debris. If your bay window sits above ground level on an upper floor, exercise extreme caution when leaning out to clean or measure exterior dimensions.
Find the Best Window Styles for your Home
Step-by-step instructions
Time required: 4-6 hours for complete decoration, spread across one weekend
Step 1: Measure and assess your space
Start by measuring the width, depth, and height of your bay window alcove. Record the distance between side walls and note the angle of the bay projection. These measurements determine what furniture and treatments will fit comfortably.
Photograph the space from multiple angles. Images help when shopping for materials and allow you to visualize different arrangements. Check the condition of window frames, sills, and surrounding walls for any repairs needed before decorating.
Identify the room’s primary function. A bay window in a living room serves different purposes than one in a bedroom or kitchen. This functional assessment guides your decorating choices toward practical solutions rather than purely aesthetic ones.
Step 2: Plan your layout and colour scheme
Sketch a simple floor plan showing furniture placement and traffic flow. Small spaces benefit from minimal furniture that doesn’t block natural light. Choose a colour palette that complements existing room decor while keeping the space feeling open and airy.
Light neutrals work exceptionally well in compact bay windows. Whites, creams, and pale greys reflect sunlight and create an illusion of expanded space. Add pops of colour through easily changeable accessories like cushions or throws rather than permanent fixtures.
Consider the view outside your window. If you overlook a garden, bring nature inside with botanical prints and natural textures. Urban views might inspire a more contemporary approach with clean lines and metallic accents.
Step 3: Install window treatments
Mount curtain rods or blind brackets according to manufacturer instructions. For bay windows, flexible curtain tracks that follow the window’s curve provide seamless coverage. Alternatively, install separate rods on each window section for a segmented look.
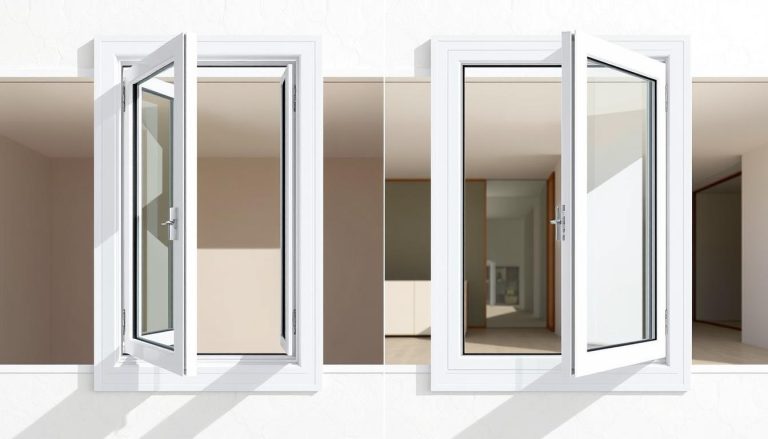
Choose treatments that don’t consume valuable space when open. Casement windows within bay structures require inward-opening clearance, so avoid bulky Roman shades that might interfere with operation.
Layer sheer curtains underneath heavier drapes for versatility. Sheers filter harsh sunlight during the day while maintaining privacy. Evening drapes add insulation and complete darkness when needed for sleeping areas.
Step 4: Create seating or storage solutions
Build or purchase a custom bench that fits snugly within the bay window alcove. Bench depth should be 18-24 inches for comfortable seating. Include hinged lids or pull-out drawers underneath for storing blankets, books, or seasonal items.
If construction isn’t feasible, arrange floor cushions or a small upholstered ottoman. These portable options offer flexibility to reconfigure the space as needs change. Ensure any seating doesn’t block window ventilation or heating vents below the sill.
Add a slim console table behind a sofa if the bay window backs onto a living area. This creates display space without requiring floor area within the bay itself. Keep the table height below the window sill to maintain sight lines.
Step 5: Add vertical elements and greenery
Install floating shelves on the side walls flanking the bay window. Position them at varying heights to create visual interest and provide spots for plants, books, or decorative objects. Ensure shelves don’t extend beyond 8 inches from the wall to preserve walking space.
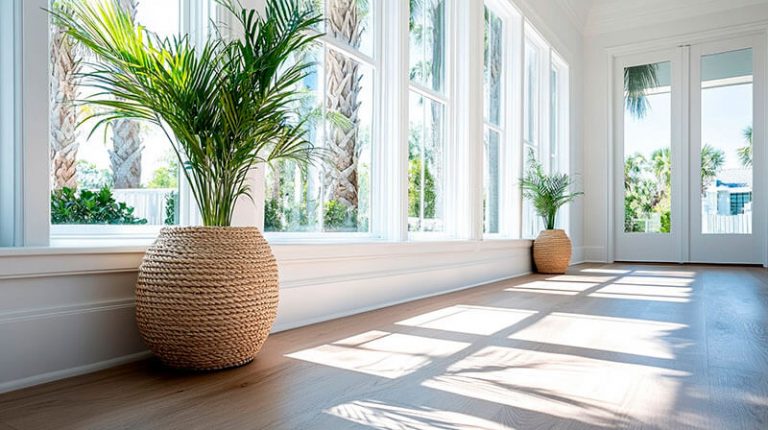
Incorporate tall plants in floor-standing planters to draw the eye upward. Snake plants, fiddle-leaf figs, or dracaenas thrive in bright window locations and add organic shapes that soften angular architecture. Group plants in odd numbers (three or five) for balanced composition.
Hang artwork or mirrors on adjacent walls rather than within the bay itself. This keeps the window area open while extending the decorative theme throughout the room. Mirrors positioned perpendicular to windows amplify natural light effectively.
Step 6: Layer textiles and accessories
Add cushions in various sizes and textures to seating areas. Mix patterns carefully, limiting yourself to three complementary designs in the same colour family. Include at least one solid colour to ground the arrangement and prevent visual chaos.
Drape a throw blanket over one corner of the bench for both function and style. Chunky knits work beautifully in traditional spaces, while linen or cotton suits contemporary aesthetics. Change textiles seasonally to refresh the look without major expense.
Place a small tray on the seating surface to corral items like candles, a small vase, or a coffee cup. This designated spot prevents clutter while adding a curated, intentional appearance to the space.
Step 7: Optimize lighting
Position a reading lamp on a side table or mount a swing-arm wall sconce adjacent to seating. Task lighting extends the usability of your bay window area into evening hours. Choose fixtures with adjustable arms to direct light precisely where needed.
Install dimmer switches for overhead room lighting to control ambiance. Bright light showcases the bay window as a focal point during gatherings, while dimmed lighting creates intimate atmosphere for relaxation.
Consider battery-operated LED strips under built-in seating or shelving. These provide subtle accent lighting that highlights architectural details without requiring electrical work.
Step 8: Final styling and adjustments
Step back and evaluate the overall composition. Remove any items that feel crowded or unnecessary. Small spaces suffer when overdecorated, so edit ruthlessly until only purposeful pieces remain.
Test all window operations to confirm curtains, blinds, and decorative elements don’t impede opening or closing. Double-hung windows need clearance for both sashes to move freely.
Sit in the space for 15 minutes at different times of day. Notice how light changes and whether the arrangement feels comfortable. Make minor adjustments to cushion placement or accessory positioning based on actual use rather than appearance alone.
“The biggest mistake homeowners make is treating bay windows like regular walls. These structures capture light from multiple angles, so your decoration strategy should enhance that natural advantage rather than fight against it.” – Eugene Siukayev, Project Manager
Common mistakes to avoid
| Mistake | Solution |
|---|---|
| Blocking natural light with heavy, dark curtains | Use sheer or light-filtering fabrics that maintain privacy while allowing sunlight penetration |
| Overcrowding the space with too much furniture | Limit furnishings to one primary piece (bench or chair) plus minimal accessories |
| Ignoring the window’s architectural angles | Choose furniture and treatments that complement the bay’s unique geometry |
| Installing shelves or rods without finding studs | Always use a stud finder and appropriate wall anchors for secure mounting |
| Selecting cushions that are too large for the seating depth | Measure carefully and choose cushions 2-3 inches smaller than the seat depth |
| Forgetting to account for radiator or vent placement | Leave clearance around heating elements and avoid blocking airflow with furniture |
Cost breakdown
Decorating a small bay window ranges from $200 to $2,000 depending on the scope and quality of materials selected. Budget-conscious homeowners can achieve excellent results at the lower end by focusing on DIY solutions and affordable textiles.
DIY approach
Expect to spend $200-$600 for a complete DIY decoration. This includes ready-made curtains ($80-$150), cushions and throws ($60-$120), basic shelving ($40-$80), plants and pots ($30-$60), and miscellaneous hardware ($20-$40). Shopping sales and using existing items reduces costs further.
Professional installation
Hiring professionals for custom built-ins and window treatments costs $800-$2,000. This covers custom bench construction ($400-$800), professional curtain or blind installation ($200-$400), upholstery work ($150-$300), and designer consultation ($150-$500). Labour typically represents 60% of the total expense.
Factors affecting price
Material quality significantly impacts cost. High-end fabrics, solid wood construction, and designer accessories push budgets upward. Geographic location matters too, with urban areas commanding higher labour rates than rural regions.
Window size and complexity affect pricing. Larger bays require more fabric and materials. Unusual angles or custom dimensions necessitate bespoke solutions that cost more than standard products. If you’re considering window replacement alongside decoration, factor in $800-$1,500 per window unit.
DIY vs professional installation
When DIY makes sense
- You have basic carpentry and sewing skills
- The project involves simple curtain hanging and accessory placement
- Budget constraints limit professional hiring options
- You enjoy hands-on creative projects and have adequate time
- Standard-sized products fit your bay window dimensions
Benefits of DIY
- Significant cost savings of 50-70% compared to professional services
- Complete creative control over every design decision
- Flexibility to work at your own pace and make changes
- Satisfaction of completing a personalized home improvement project
Risks of DIY
- Potential for measurement errors leading to ill-fitting treatments
- Time investment may exceed initial estimates by 2-3 times
- Lack of specialized tools for complex installations
- Difficulty achieving professional-quality finishes without experience
When to hire professionals
- Custom built-in seating or storage requires carpentry expertise
- Complex window treatments need precise measurements and specialized hardware
- Your bay window has unusual angles or dimensions
- Time constraints prevent dedicating full weekends to the project
- You want guaranteed results with warranties on workmanship
Benefits of professional installation
- Expert craftsmanship ensures durable, high-quality results
- Access to trade-only products and materials not available to consumers
- Warranty coverage protects against installation defects
- Faster completion timeframe (typically 1-2 days versus weeks for DIY)
Risks of professional installation
- Higher upfront costs strain renovation budgets
- Less personal involvement in creative decisions
- Scheduling coordination required with contractors’ availability
- Potential communication gaps between vision and execution
For most homeowners, a hybrid approach works best. Handle simple tasks like painting, cushion selection, and accessory placement yourself while hiring professionals for structural work like built-in benches or complex door installation if your bay window includes a garden door component.
Cost breakdown
| Item | DIY Cost (CAD) | Professional Cost (CAD) |
|---|---|---|
| Window treatments (curtains/blinds) | $80-$150 | $200-$400 |
| Custom bench with storage | $150-$300 (materials only) | $400-$800 |
| Cushions and textiles | $60-$120 | $150-$300 |
| Shelving and brackets | $40-$80 | $100-$200 |
| Plants and decorative items | $30-$60 | $50-$100 |
| Labour/consultation | $0 | $150-$500 |
| Total | $360-$710 | $1,050-$2,300 |
Remember that investing in quality energy-efficient windows before decorating can reduce long-term heating costs while providing a better foundation for your design scheme. Total Home Windows and Doors offers various bay window options that combine aesthetic appeal with thermal performance.
Ready to transform your bay window?
Small bay windows deserve thoughtful decoration that maximizes their potential as functional, beautiful spaces. Whether you choose the DIY route or professional assistance, the key lies in respecting the architectural feature while adapting it to your lifestyle needs. Start by measuring your space accurately, then select one primary function—reading nook, plant display, or storage solution—and build your design around that purpose. Visit our showroom to explore bay window options and speak with design experts who can help you create the perfect small-space solution for your home.
FAQ
How do you make a small bay window look bigger?
Use light colours, hang curtains close to the ceiling, install mirrors on adjacent walls, and choose furniture with exposed legs. Vertical stripes in fabrics draw eyes upward while minimal accessories prevent visual clutter that shrinks perceived space.
What is the best seating option for a compact bay window?
A built-in bench with storage underneath maximizes functionality without consuming extra floor space. Alternatively, use a slim upholstered ottoman or floor cushions that can be easily moved when the area needs to serve different purposes throughout the day.
Can you put a desk in a small bay window?
Yes, if the bay projects at least 24 inches from the wall. Install a floating desk surface at standard height (29-30 inches) that spans the window width. Ensure adequate legroom underneath and position your chair to avoid blocking window operation or radiators.
How do you choose curtains for angled bay windows?
Measure each window section separately and either use flexible curtain track that bends around corners or install individual rods on each angled section. Choose lightweight fabrics that stack compactly when open to preserve the bay’s architectural lines and natural light.
What plants work best in bay window displays?
Select species based on light exposure. South-facing bays suit succulents, herbs, and flowering plants. North-facing windows work well for ferns, pothos, and snake plants. Group plants with similar water needs together and rotate them weekly for even growth and balanced appearance.