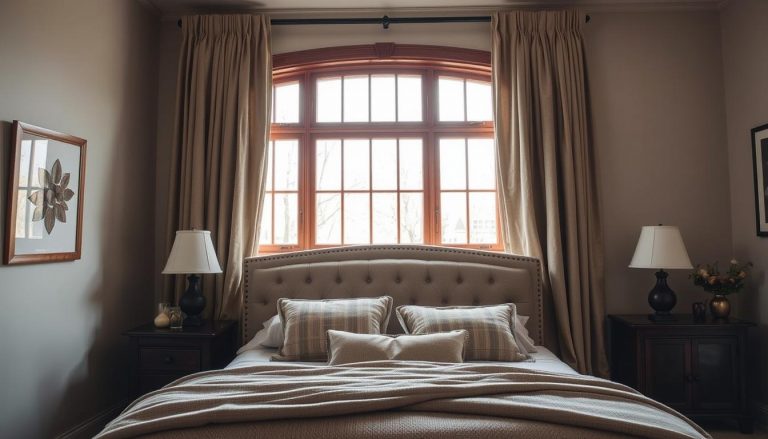
Did you know a typical bay window area can offer over 15 cubic feet of extra capacity? Many Canadian homes feature this architectural detail, yet its potential often goes untapped.
Homeowners across Ontario dream of turning this spot into a functional area that adds real value. As a premier vinyl windows and doors manufacturer, we understand this desire perfectly.
Transforming this zone creates a beautiful and practical focal point for any room. You can convert often-neglected square footage into a huge asset for your living area.
Our guide helps you navigate building a custom bench that fits your unique dimensions. By following proven techniques, you ensure the result is both sturdy and aesthetically pleasing for years.
We focus on maximizing every inch to deliver the organization your busy household needs. This project can truly redefine how you use your home.
Key Takeaways
- Transform an underutilized area into a beautiful and functional feature.
- Significantly increase your living area’s capacity with a clever built-in solution.
- Ensure a perfect fit by accounting for your window’s unique dimensions.
- Follow professional techniques for a durable and attractive final result.
- Maximize every available inch to meet your household’s organizational needs.
- Add value and appeal to your property with this smart renovation.
- Create a cozy spot that enhances your room’s overall design and comfort.
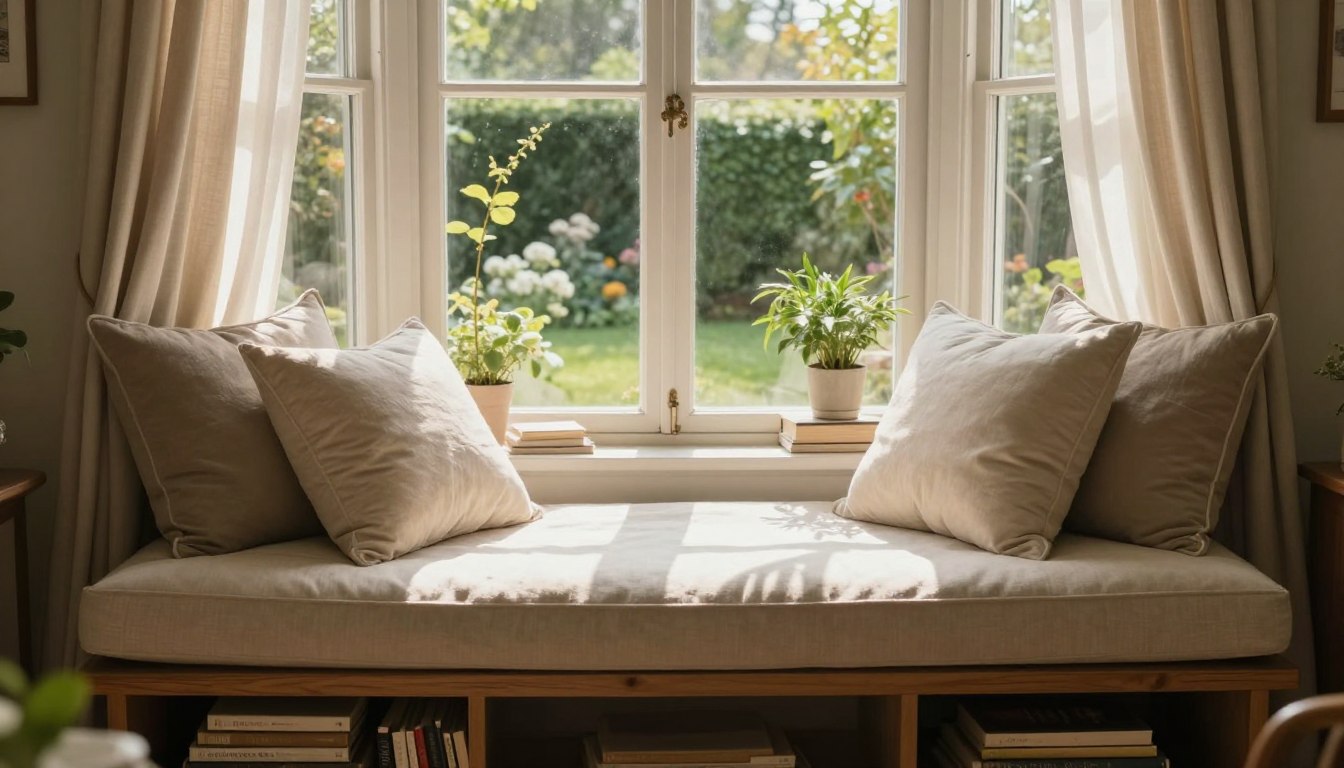
Understanding Bay Window Storage Concepts
Every successful built-in bench begins with a solid understanding of the space and its structural needs. Assessing the framework around your bay window is the crucial first step. This ensures your final creation is both safe and durable for everyday use.
Our own breakfast nook project, completed in 2019, highlighted the importance of precise measurement. The bench for that full kitchen remodel measured roughly 122 inches by 28 inches. Accurate dimensions are the blueprint for a perfect fit.
Constructing a window seat is a moderately advanced do-it-yourself task. It requires fundamental carpentry skills and comfort with power tools. Safely securing a 2×4 board to the wall is a typical part of the process.
Many find building a custom bench offers excellent hidden capacity for small kitchen appliances. You must also account for your home’s existing layout. During our project, we had to relocate an HVAC vent to maintain proper airflow.
A well-planned built-in transforms unused space into a cherished, functional asset.
This foundational knowledge prepares you for the hands-on work ahead. It turns a complex project into a manageable and rewarding endeavour.
Window and Doors Replacement Near Me
Planning and Building: storage under bay window
Before cutting any wood, meticulous planning ensures your bench integrates seamlessly. Accurate dimensions are non-negotiable for a perfect fit against the existing structure.
We drafted a detailed blueprint. This step prevents costly errors during the construction process.

Our framing design called for a front wall precisely 15 inches tall. Adding a standard cushion brings the final height to a comfortable 18 inches for seating.
For the primary structure, we utilized six 2x4x96 inch studs. These form a robust skeleton for the heavy top panels.
A square frame is the secret to a professional-looking built-in that lasts for decades.
Securing the 2×4 supports to the rear wall is critical for stability. Always consult local building codes before finalizing your plan.
In one project, we rerouted electrical wiring to the front to maintain access to an outlet. Safety and code compliance come first.
| Framing Component | Quantity | Key Purpose |
|---|---|---|
| 2×4 Studs (96″) | 6 pieces | Primary front and side wall framing |
| Framing Square | 1 tool | Ensuring perfect 90-degree angles |
| Level | 1 tool | Maintaining horizontal and vertical alignment |
| Construction Fasteners | As needed | Securing frame to floor and existing walls |
Using a level and framing square when attaching the front frame to the floor is essential. This guarantees everything remains perfectly square and level for the final installation.
Find related services
Step-by-Step How-To Guide for Constructing Your Bay Window Bench
The final construction stage focuses on the top panel. It serves as both a comfortable seat and a clever access point.
Begin your process by removing the existing baseboards and window stool. This lets the new framing wall sit perfectly flush against the existing wall. Attach your 2×4 studs to the back bay window area.
Ensure they are level with the front framing wall for consistent support. We used a Kreg jig for pocket hole joinery on this project. It provides superior strength when connecting the front bench supports to the side walls.
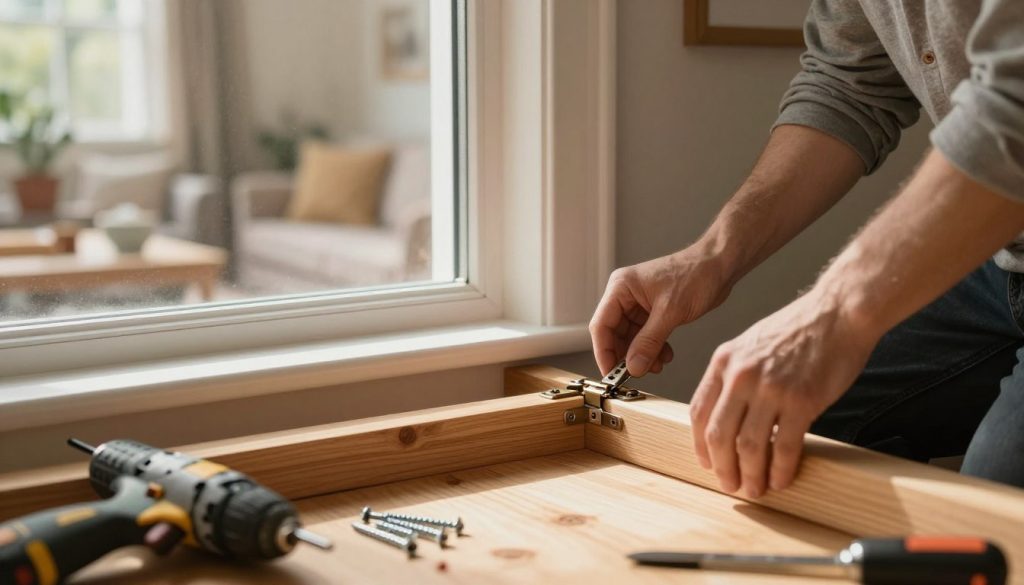
Installing the lid is a precise task. A 4-foot piano hinge is ideal for attaching it to the back support. We cut ours to the exact size using a Dremel with a metal cutting wheel.
This strong hinge allows for easy access to the interior area. It is perfect for keeping bulky kitchen items out of sight.
After the framing is complete, add drywall to the front of the bench. Finish with a coat of paint to match your home’s existing trim. This creates a seamless, built-in look for your new window seat.
Explore energy-efficient options
Enhancing Functionality with a Custom Window Seat
Attention to detail in the final phase elevates the entire project from basic to brilliant. This is where your built-in truly becomes a daily asset for comfort and organization.
A high-quality bench cushion is essential for long-term enjoyment. We crafted ours using durable Sunbrella fabric with a removable cover for easy cleaning.
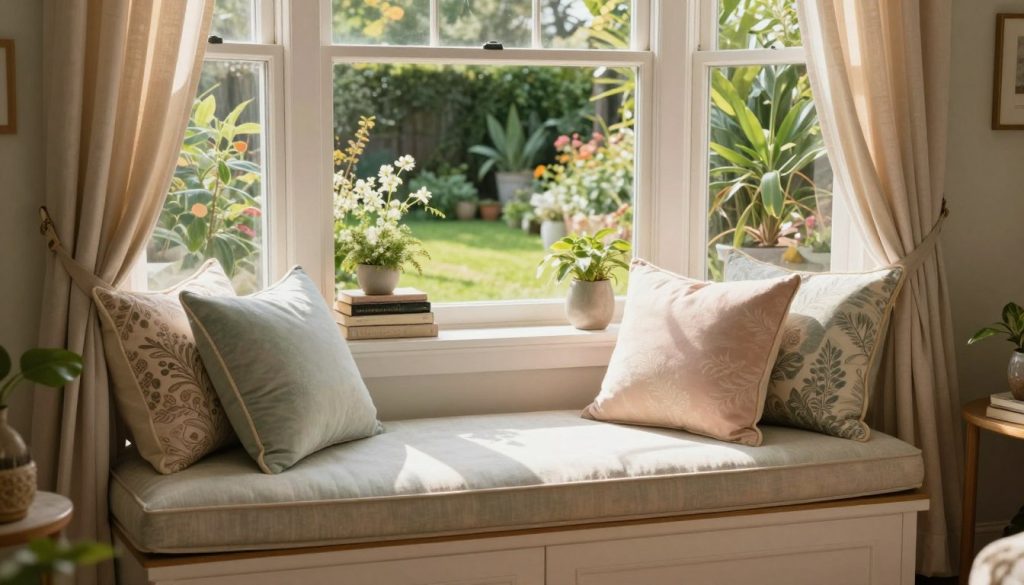
Invest in high-density foam to prevent the middle from sagging over time. This ensures your seat remains supportive and comfortable for years.
Proper ventilation is critical for any bench near an HVAC vent. We installed a thin grille over the opening to allow air to circulate freely from the front.
Personalize your new space with decorative pillows or small plants on the ledge. These touches make the area feel inviting and uniquely yours.
The interior space is perfect for items used less often. Think large roasting pans or seasonal kitchen equipment. This clever use keeps your bay window area tidy and functional.
Find the Best Window Styles for your Home
Leveraging Total Home Windows & Doors Expertise
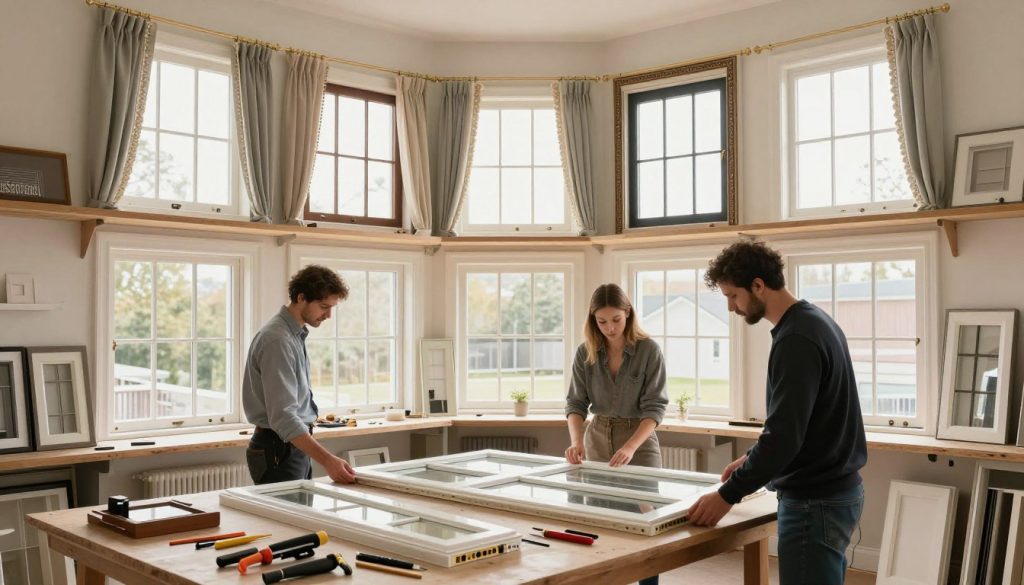
For homeowners in Ontario, selecting the right window supplier is as crucial as the bench construction itself. A high-performance bay window forms the foundation of your entire project.
Partnering with a trusted local manufacturer like Total Home Windows & Doors elevates your renovation. Their products and reputation provide peace of mind for this significant investment.
This company maintains an A+ rating with the Better Business Bureau. Their stellar 4.9 Google and 5.0 Homestars ratings reflect consistent customer satisfaction.
Their vinyl windows are ENERGY STAR™ certified. This superior thermal performance is essential when building a seat directly beneath the glass.
The integrated TotalSeal Multi-Point Locking System ensures security and weather-tight durability. It stands up to harsh Canadian seasons, protecting your new cozy nook.
Relying on this professional expertise guarantees a solid, reliable foundation for your built-in seat. It transforms a DIY tutorial into a lasting, valuable home feature.
Best window companies reviews
Customisation and Accessories for Your Bay Window Project
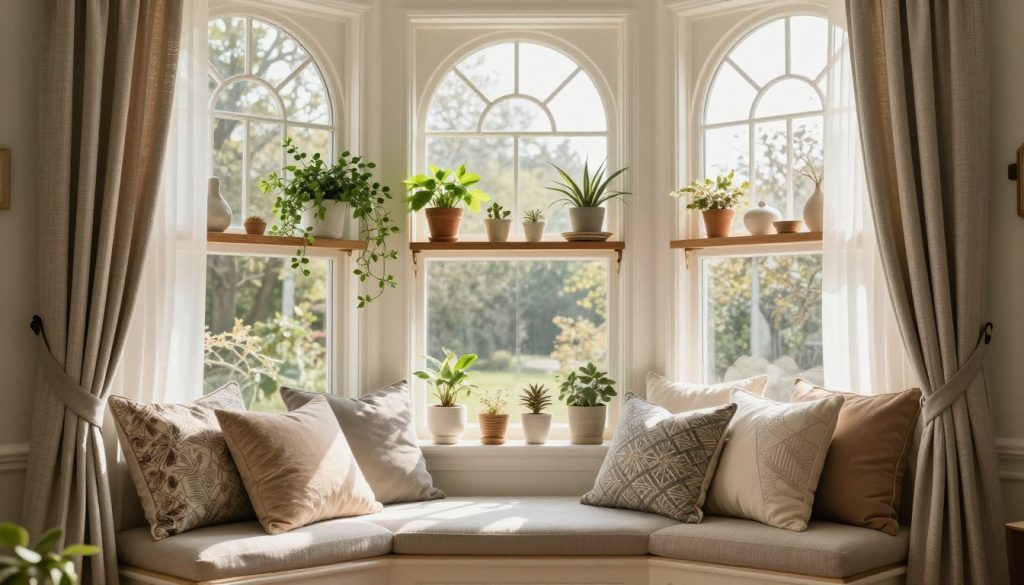
Selecting the right accessories and trim details is what gives your custom window seat its professional, built-in appearance. This final stage focuses on aesthetics and fine-tuning.
We recommend using cove molding and quarter round to finish the edges. These trims hide small gaps between your bench and the existing walls beautifully.
Measuring the complex triangular corners of a bay area can be tricky. We used a simple template made from cardboard strips to trace the exact shape.
This ensured a perfect fit for the side panels we cut from MDF board. Adding a small decorative lip to the front edge serves a dual purpose.
It prevents your cushion from sliding off and adds a clean design line. When sourcing accessories online, be mindful of affiliate links in product reviews.
Always verify you are getting the best value for your project. The final touch is a coat of high-quality trim paint.
We used a shade like Simply White to help the entire unit blend seamlessly with our home’s existing trim. This process elevates a basic frame into a cherished part of your room.
Transforming Your Home with Personalised Bay Window Storage
Your new bench transforms a simple architectural feature into the heart of your room. This rewarding project adds both beauty and serious utility to your space.
By following this tutorial, you can build a custom seat that fits your room’s unique dimensions. The process turns a once-overlooked area into a favourite spot for relaxing.
With some patience and the right tools, you will achieve a professional result. Your kitchen or living room will feel more spacious and organized.
FAQ
How do we know if our framing wall can support a built-in bench?
We always recommend checking your home’s framing plan or consulting a professional. The front framing wall must be securely attached to floor joists and studs. For projects involving load-bearing walls, a structural assessment from a company like Total Home Windows & Doors is essential for safety and compliance.
What is the ideal height for a comfortable window seat?
The standard height for a comfortable bench cushion is between 18 to 20 inches from the floor. This aligns with typical chair and dining seat heights, creating a perfect spot for a breakfast nook. We measure from the finished floor to the top of the seat board for accuracy.
Can we build around an existing heat vent in the bay area?
Yes, this is a common challenge. The process involves rerouting ductwork or incorporating a vent grill into the front bench or side panel. It’s crucial to maintain proper airflow for your HVAC system. We often design a slotted kickplate or a decorative grille into the front framing to solve this.
What tools are essential for this DIY project?
Key tools include a level, circular saw, drill, stud finder, and nail gun. For precise cuts on the plywood and trim boards, a mitre saw is invaluable. Safety gear like goggles and gloves is non-negotiable. Our tutorial outlines each step of the build process with these tools in mind.
How do we choose the right bench cushion for our space?
We suggest using high-density foam for durability and comfort. Measure the interior dimensions of your seat space, and consider a custom cover in a durable, washable fabric. Many retailers offer custom-cut cushions; look for options with non-slip backing to keep it securely in place.
When should we consult a professional instead of DIY?
If your project involves significant structural changes, electrical wiring, or modifying a load-bearing wall, professional help is advised. Partnering with experts like Total Home Windows & Doors ensures the integrity of your bay window and the safety of your renovation, saving time and potential costly errors.
What are the best accessories to enhance functionality?
Adding soft-close hinges to the seat lid prevents slammed fingers. Internal dividers or baskets organise the storage space. For a finished look, consider decorative trim, crown moulding on the top, or integrated USB charging ports in the side panels for modern convenience.